HOT PEPPER FARMING FOR ONE ACRE
By CHETU AGROSOLUTION · 6 October 2026
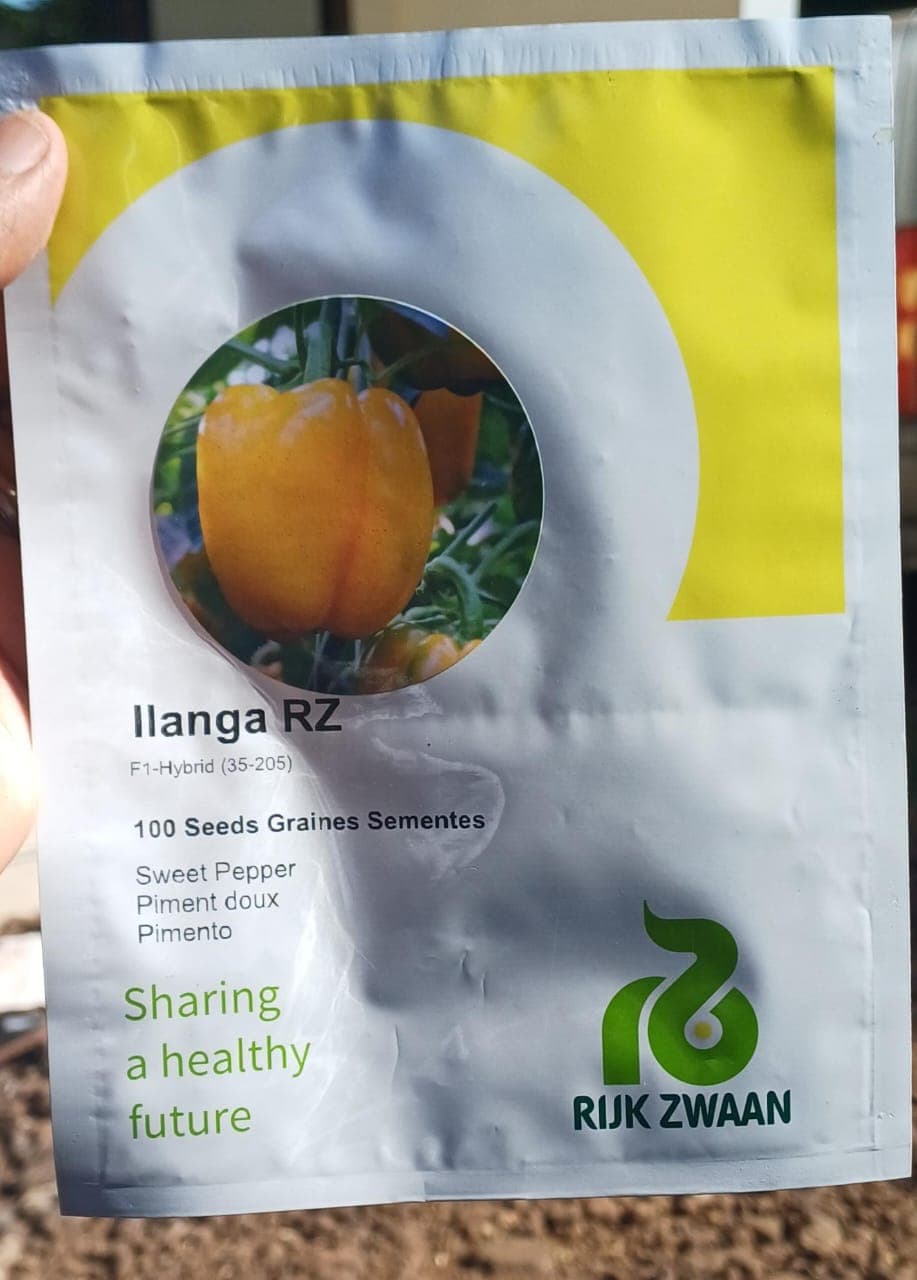
A Step-by-Step Guide, Measurements and Management from Nursery to Harvest
Farmer, at CHETU AGROSOLUTION, we want to see you grow hot peppers through proper planning, not guesswork.
Hot pepper is a valuable commercial crop when production is properly managed. However, successful production does not begin at harvesting. It begins with selecting the right variety, preparing a healthy nursery, producing strong seedlings, preparing the soil, using proper spacing, managing nutrition and irrigation, controlling pests and diseases, and having a clear marketing plan.
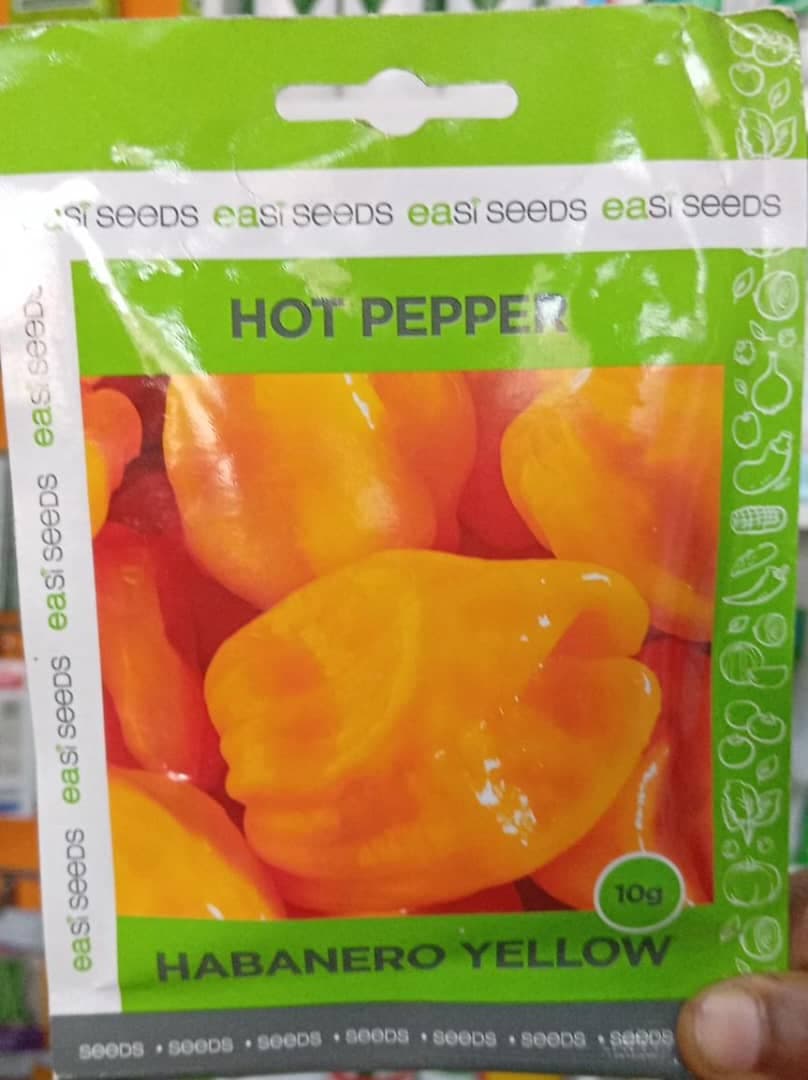
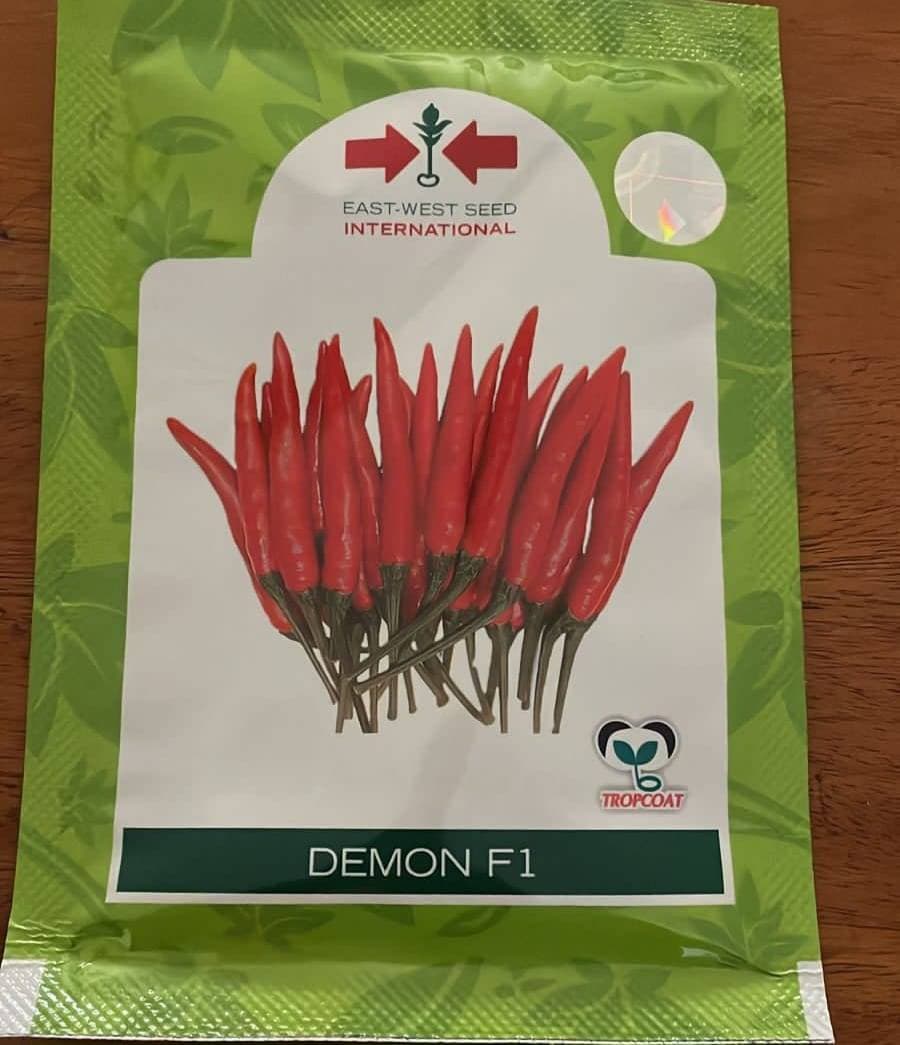
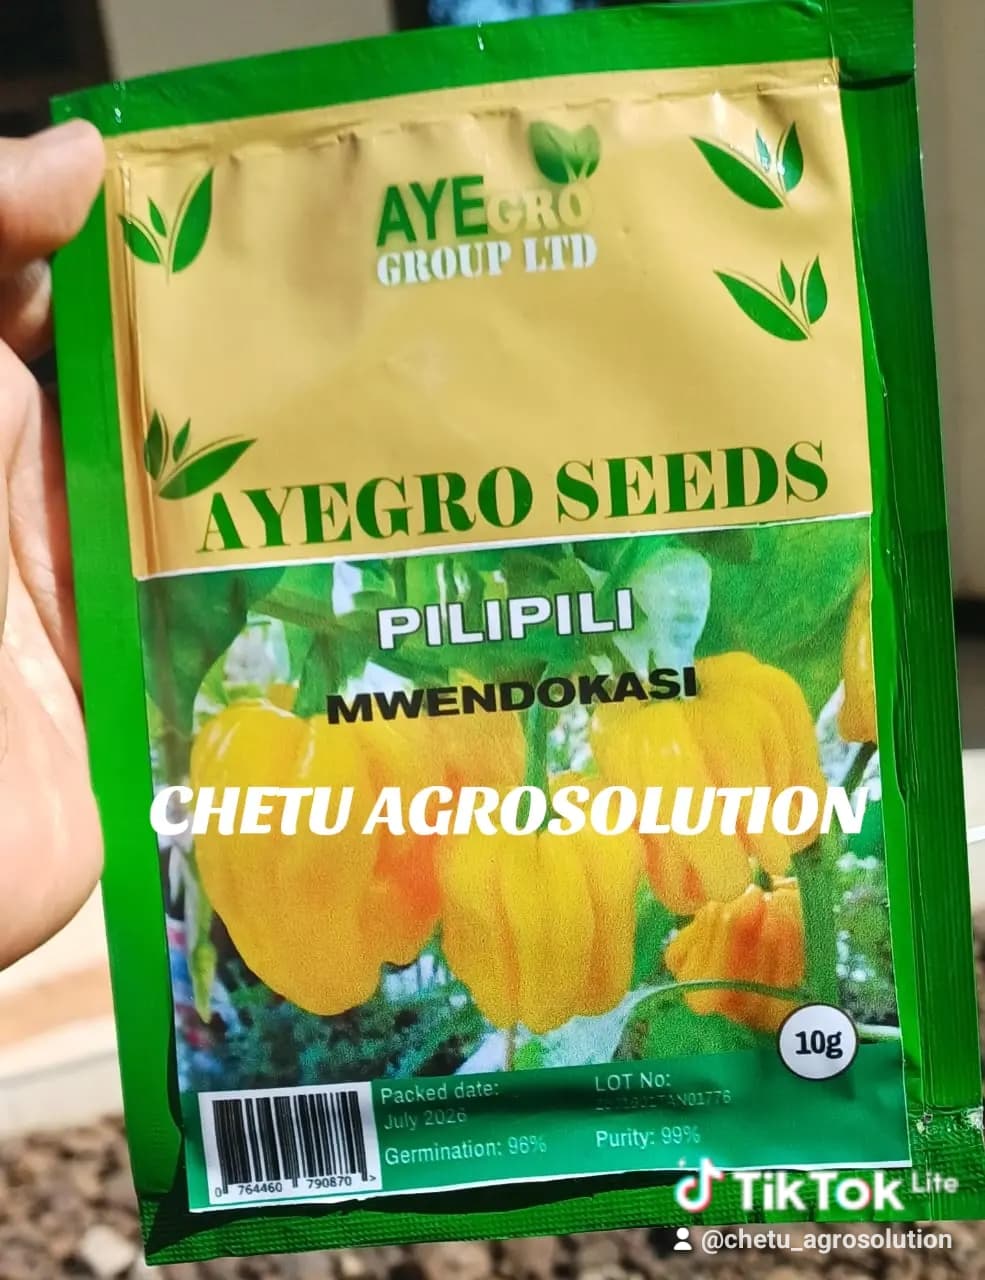
It is also important to understand that the name “hot pepper” may refer to different pepper varieties, meaning maturity period, plant size, fruit size, fruit shape and market requirements can vary. Therefore, before planting, you should know the exact variety you are purchasing and what your target market requires.
1. START WITH THE MARKET BEFORE PLANTING
Farmer, do not begin by asking:
“Which seed should I buy?”
Start by asking:
“Who will buy my peppers, what type do they need, and what quality do they require?”
Hot peppers can be marketed:
fresh;
fully ripe and red;
through local markets;
to hotels and restaurants;
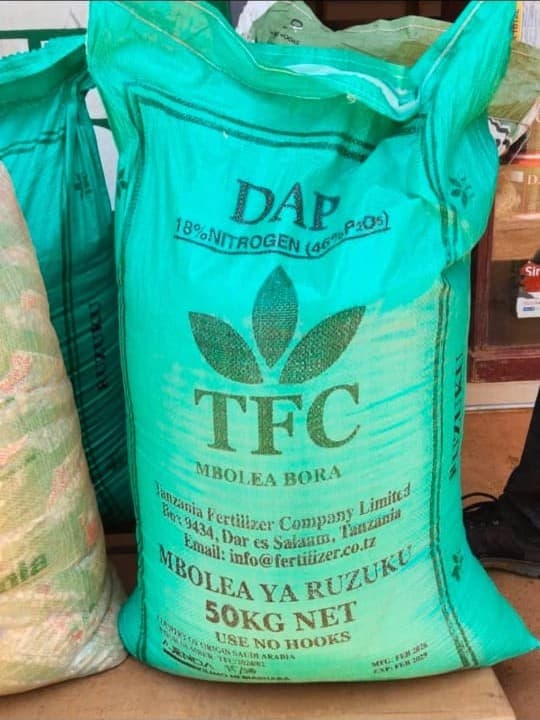
to processors;
to sauce manufacturers;
to traders and exporters;
or dried and sold as dry pepper.
Before planting one acre, find out:
Which variety the market prefers.
Required fruit color.
Required fruit size.
Required level of pungency.
Harvesting period.
Previous market prices.
Quantity buyers can absorb.
Quality and packaging requirements.
Do not plant simply because you saw another farmer making money from the crop.
2. SELECT THE RIGHT SEED VARIETY
We recommend using seed that is:
from a reliable source;
of good quality;
capable of good germination;
suitable for your environment;
appropriate for your target market;
correctly identified by variety;
and, where available, has suitable tolerance or resistance to important diseases.
For commercial production, we generally recommend raising seedlings and transplanting them rather than relying entirely on direct seeding. Transplanting can help achieve a more uniform stand and make early crop management easier. Professional pepper-production guidelines commonly use transplants that are approximately 4–8 weeks old, depending on production conditions and the growing system.
3. SEED REQUIREMENT FOR ONE ACRE
Farmer, do not determine seed requirement by looking only at the number of grams.
Seed requirement depends on:
number of seeds per gram;
germination percentage;
whether the variety is hybrid or open-pollinated;
target plant population;
and planting system.
For a spacing system of:
100 cm × 50 cm
the theoretical plant population is approximately:
4,047 m² ÷ 0.5 m² = 8,094 planting positions per acre.
Therefore, if your target is approximately 8,000 plants per acre, prepare more seedlings than the final target population.
Example
Target field population: approximately 8,000 plants.
Seedlings to prepare: approximately 8,800–9,500.
The extra seedlings help replace plants that may fail before or shortly after transplanting.
Do not purchase a fixed number of grams of seed without checking the variety's seed count and germination percentage.
4. SELECT THE RIGHT FIELD
Hot peppers require a field that has:
adequate sunlight;
well-drained soil;
no prolonged waterlogging;
a reliable and controllable water source;
and a low risk of serious root diseases.
We also recommend crop rotation.
Avoid planting peppers continuously in the same field, particularly after:
tomatoes;
peppers;
eggplants;
potatoes;
and other related crops.
This can help reduce the buildup of certain soilborne pests and diseases. Professional pepper-production guidance also recommends avoiding sites that recently carried crops such as pepper, tomato, eggplant or potato when soilborne disease is a concern.
5. TEST THE SOIL BEFORE PLANTING
This is one of the steps we strongly emphasize at CHETU AGROSOLUTION.
Do not buy fertilizer simply because your neighbor used it.
Where possible, test:
soil pH;
nitrogen;
phosphorus;
potassium;
organic matter;
calcium;
magnesium;
sulfur;
and relevant micronutrients when necessary.
Pepper generally performs well in soils around pH 6.0–6.8, although the actual soil-test result and local conditions should guide soil amendments.
If the soil pH is too low
Do not apply lime blindly.
The appropriate lime rate should be determined based on:
soil pH;
soil type;
buffer requirement;
and laboratory recommendations.
6. PREPARE THE NURSERY
Week 0: Nursery Preparation
Choose a nursery site that:
does not remain waterlogged;
receives adequate light;
has clean water;
is protected from animals;
and does not have a known history of serious root diseases.
You may use:
seedling trays;
nursery beds;
or an appropriate growing medium.
For a conventional nursery bed
Prepare fine, well-drained soil.
Do not use soil with a history of:
damping-off;
root rot;
wilt;
or other serious root diseases.
7. SOWING THE SEEDS IN THE NURSERY
Sow seeds at a relatively shallow depth; do not bury them too deeply.
After sowing:
Water moderately.
Maintain suitable moisture.
Prevent waterlogging.
Protect seedlings from excessive heat.
Monitor germination.
Remove severely diseased seedlings.
Monitor for pests.
The goal is not to keep the nursery constantly wet.
The goal is controlled moisture.
8. SEEDLING MANAGEMENT: WEEKS 1–5/8
A healthy seedling should have:
good green color;
a strong stem;
compact growth;
healthy roots;
no visible pests;
and no obvious disease symptoms.
Avoid:
overwatering;
allowing seedlings to dry severely;
excessive crowding;
excessive shade;
and applying pesticides without identifying the problem.
Commercial pepper seedlings commonly reach transplanting size within approximately 4–6 weeks, although actual timing can vary with variety and growing conditions.
9. HARDENING THE SEEDLINGS
Before transplanting, gradually expose seedlings to field conditions.
For several days before transplanting:
gradually reduce excessive watering;
gradually increase exposure to light;
avoid severe stress;
and keep seedlings healthy.
The objective is to reduce transplant shock.
10. PREPARE THE FIELD EARLY
Do not wait until the seedlings are ready before preparing the field.
Carry out the following:
Remove weeds.
Remove diseased crop residues.
Plough or dig the field.
Break large soil clods.
Prepare raised beds where necessary.
Establish good drainage.
Apply well-decomposed manure or compost.
Install the irrigation system.
Mark planting rows.
11. MANURE REQUIREMENT FOR ONE ACRE
For a field with low organic matter, a practical starting range can be:
5–10 tonnes of well-decomposed manure or compost per acre.
This is a general guideline, not a mandatory prescription.
Manure quality varies considerably.
Do not apply fresh manure directly around the roots of seedlings.
Mix well-decomposed manure thoroughly into the soil before transplanting.
12. HOT PEPPER BEDS
Where drainage is poor, we recommend using raised beds.
A practical example is:
Bed width: approximately 1 metre
Bed height: approximately 20–30 cm, depending on drainage
Pathway between beds: approximately 40–60 cm, depending on the field and irrigation system.
These measurements can be adjusted according to:
soil type;
field slope;
irrigation system;
machinery;
and planting spacing.
13. HOT PEPPER PLANTING SPACING
For varieties that spread more widely, a spacing of:
100 cm × 50 cm
can be used in many commercial production systems.
This gives approximately:
8,000 plants per acre.
Advantages include:
better air circulation;
improved light penetration;
easier spraying;
easier harvesting;
easier weeding;
and sufficient space for branching.
However, spacing should be adjusted according to the variety and production system. Professional pepper-production systems may use populations of approximately 11,000–14,500 plants per acre, depending on in-row spacing and production objectives. Therefore, one spacing should not automatically be applied to every pepper variety.
14. HOW TO TRANSPLANT THE SEEDLINGS
Transplant:
early in the morning;
late in the afternoon;
or during a mild/cloudy period.
Before transplanting:
Water the seedlings.
Make sure the field has adequate moisture.
Remove seedlings carefully.
Avoid damaging the roots.
Plant at approximately the same depth as they were in the nursery.
Firm the soil around the roots.
Water after transplanting.
Do not bury the stem excessively deep.
15. GAP FILLING — 5–10 DAYS AFTER TRANSPLANTING
Walk through the entire field.
Look for:
dead seedlings;
severely wilted seedlings;
broken seedlings;
seedlings damaged by pests;
or seedlings that failed to establish.
Replace them early.
The goal is to maintain the planned plant population.
16. FERTILIZER PROGRAM FOR ONE ACRE
Farmer, this is where we want you to be especially careful.
Kilograms of fertilizer are not the same as kilograms of nutrients.
For example:
100 kg of NPK 17-17-17
contains approximately:
17 kg N;
17 kg P₂O₅;
17 kg K₂O.
Therefore, do not say:
“I applied 100 kg of NPK, so I applied 100 kg of nitrogen.”
That is incorrect.
17. EXAMPLE OF CALCULATING NITROGEN
Professional pepper-production guidelines may use approximately 50 lb N/acre before planting and another 50 lb N/acre when plants begin fruiting, equivalent to about 45 kg actual N per acre for those two applications. However, this is an example from a specific production guideline and should not be treated as a universal recommendation for every farm in Tanzania.
Suppose, for calculation purposes, you want approximately:
45 kg actual N per acre
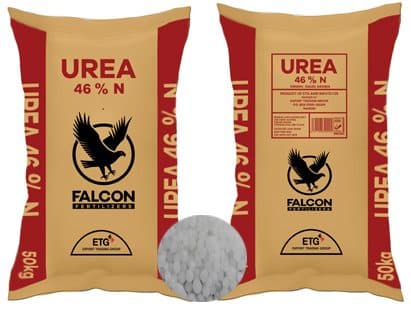
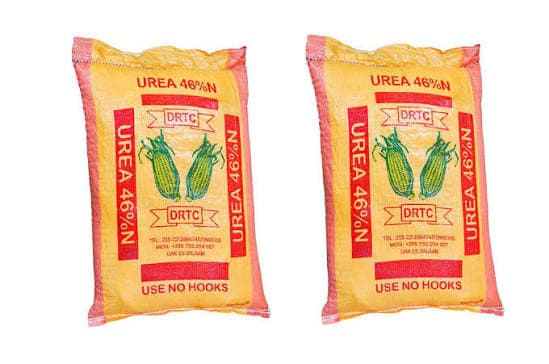
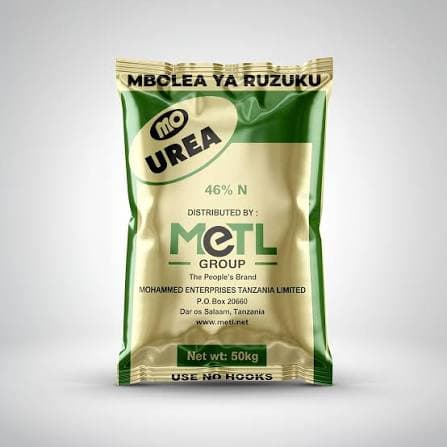
and you are using Urea containing:
46% N
The calculation is:
45 ÷ 0.46 = 97.8 kg Urea
Therefore:
Approximately 98 kg Urea per acre
But if you are already applying an NPK fertilizer that contains nitrogen, do not automatically add another 98 kg of Urea without recalculating the total nitrogen supplied.
18. EXAMPLE FERTILIZER PROGRAM
The following is an example for planning nutrition, not a compulsory prescription for every field:
| Stage | Fertilizer | Indicative rate |
|---|---|---|
| Field preparation | Well-decomposed manure/compost | 5–10 tonnes/acre |
| Basal application | NPK 17-17-17 | 100 kg/acre* |
| Weeks 2–3 | Nitrogen source according to soil test | Adjust according to N already supplied |
| Weeks 4–6 | Nitrogen source | Split rather than applying all at once |
| Flowering/fruit set | Potassium source where soil test indicates need | Based on soil test |
| Fruit development | N + K through topdressing/fertigation | Based on crop requirements |
| Harvest period | Small, adjusted applications | Based on crop condition |
*100 kg of NPK 17-17-17 is not automatically required on every farm.
We emphasize this because soil testing may show that phosphorus or potassium is already adequate or high, in which case the fertilizer program should be adjusted. Professional vegetable-production guidance also recommends using soil-test results to determine phosphorus and potassium applications and splitting nitrogen into several applications.
19. WEEKS 1–2 AFTER TRANSPLANTING
The main objectives are:
root establishment;
new leaf growth;
branch development;
minimizing transplant shock.
Carry out:
moderate irrigation;
regular field scouting;
gap filling;
weed control;
pest monitoring.
Do not rush to apply excessive nitrogen.
20. WEEKS 2–4 — BUILDING THE PLANT
During this stage, the crop requires:
adequate nitrogen;
phosphorus for root development;
potassium for plant development and water regulation;
calcium and micronutrients where deficiencies are confirmed or where the production system requires them.
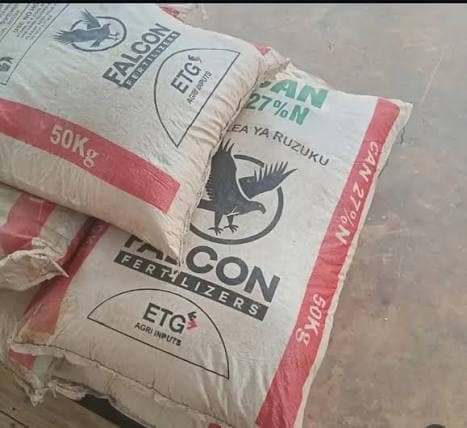
If you use CAN or another nitrogen source, the rate should be calculated based on:
nitrogen already supplied through basal fertilizer;
soil-test results;
plant size;
plant color and growth;
irrigation;
and yield target.
Do not apply CAN simply because “this is the CAN week.”
21. WEEKS 4–7 — FLOWERING BEGINS
This is a critical stage.
We want:
strong branches;
healthy flowers;
good fruit set;
consistent water supply;
sufficient potassium;
adequate calcium and boron where deficiencies or crop requirements justify them.
Avoid excessive nitrogen.
Too much nitrogen can encourage excessive vegetative growth and interfere with the balance between vegetative growth and reproductive development.
22. WEEKS 6–10+ — FRUIT SET AND DEVELOPMENT
This is another highly important stage.
We want:
consistent moisture;
adequate potassium;
adequate calcium;
healthy roots;
effective pest control;
and effective disease management.
If using drip irrigation, nutrients can be divided into smaller applications through fertigation when the fertilizer is suitable for the system.
Drip irrigation can make nutrient management easier in commercial production when compatible fertilizers and appropriate fertigation practices are used.
23. IRRIGATION — HOW MUCH WATER?
Pepper does not perform well under:
severe drought → excessive watering → drought again.
We want relatively consistent soil moisture.
Professional pepper-production guidelines emphasize maintaining uniform soil moisture because irregular moisture can increase blossom-end rot and cause flower and young-fruit drop. They also warn that over-irrigation can encourage Phytophthora and other root-rotting organisms.
Water requirements vary according to:
soil type;
weather;
plant size;
crop stage;
rainfall;
irrigation method.
Therefore, do not say:
“Every pepper plant must receive exactly a certain number of liters every day.”
That would be inaccurate without knowing the actual field conditions.
24. EXAMPLE OF DRIP IRRIGATION CALCULATION
Suppose you have:
8,000 plants per acre
and, for system planning only, you estimate:
1.0 litre/plant/day
The estimated requirement would be:
8,000 × 1 = 8,000 litres/day
If you estimate:
1.5 litres/plant/day
then:
8,000 × 1.5 = 12,000 litres/day
However, these are planning calculations, not mandatory daily irrigation rates.
The farmer should monitor soil moisture and weather before increasing or reducing irrigation.
25. WEED MANAGEMENT
Weeds compete with peppers for:
water;
nitrogen;
phosphorus;
potassium;
light;
and space.
They may also act as hosts for certain pests and diseases.
Practical schedule
Weeks 1–2: inspect the field regularly.
Weeks 2–4: control weeds before they become established.
Weeks 4–6: conduct another major weeding operation.
Afterwards: continue according to field conditions.
Do not wait until weeds become large.
26. MULCHING
Where practical, mulch can help:
reduce weeds;
reduce evaporation;
conserve soil moisture;
reduce soil splash onto fruit;
improve moisture consistency.
Organic mulch can be used if properly prepared.
Plastic mulch can also be used in commercial systems together with drip irrigation where economically appropriate.
27. IMPORTANT HOT PEPPER PESTS
Monitor for:
1. Aphids
Symptoms/signs:
small insects on young shoots;
curled leaves;
sticky honeydew;
sooty mold;
stunted growth.
2. Whiteflies
Signs include:
small white insects flying when the plant is disturbed;
weakened plants;
honeydew;
sooty mold;
and, in some cases, transmission of viral diseases.
3. Thrips
They attack:
flowers;
young leaves;
young fruit.
They may cause:
scars;
deformation;
flower drop;
and reduced fruit quality.
4. Mites
Symptoms may include:
curled leaves;
bronzing;
weak growth;
and a stressed appearance.
5. Cutworms
They can cut young seedlings near soil level.
6. Caterpillars and fruit-feeding insects
They may damage leaves and fruit.
28. PEST SCOUTING
Do not wait until pest numbers become severe.
We recommend inspecting the field:
At least twice per week
Check:
lower leaves;
young shoots;
flowers;
undersides of leaves;
fruit;
stems;
and the root-zone area where relevant.
Record:
date;
field section;
pest observed;
infestation level;
and action taken.
29. DO NOT SPRAY PESTICIDES RANDOMLY
Farmer, do not see two insects and immediately say:
“I need a strong pesticide.”
First determine:
What pest is it?
What crop stage is the field in?
How serious is the damage?
Is it actually an insect or a disease?
Are beneficial insects present?
Is the product registered and labeled for that crop and target?
What is the pre-harvest interval (PHI)?
Have you planned rotation of active ingredients?
Use registered crop-protection products and follow the product label.
Do not mix several pesticides in the same tank without confirming compatibility and label directions.
30. IMPORTANT DISEASES
Hot peppers can be affected by:
damping-off;
root rot;
Fusarium wilt;
bacterial wilt;
Phytophthora diseases;
bacterial leaf spot;
anthracnose;
powdery mildew;
Botrytis under favorable conditions;
viral diseases.
31. PREVENTING ROOT DISEASES
Farmer, healthy roots are the foundation of a productive pepper crop.
Do the following:
maintain good drainage;
avoid over-irrigation;
use healthy seedlings;
avoid fields with serious histories of root disease;
practice crop rotation;
avoid damaging roots during weeding;
do not use fresh manure.
Excessive moisture and poor drainage increase the risk of root problems. Pepper-production guidance specifically warns that over-irrigation can promote Phytophthora and other root-rotting organisms.
32. ANTHRACNOSE — IDENTIFY IT EARLY
Symptoms may include:
lesions on fruit;
expanding fruit spots;
fruit rot;
dark or orange-colored lesions depending on disease stage.
Do not leave severely infected fruit in the field.
Remove major sources of infection and apply appropriate management based on correct diagnosis.
33. VIRAL DISEASES
Viruses are important because there is generally no pesticide that can “cure” a plant once it is systemically infected.
We emphasize:
quality seed;
healthy seedlings;
management of vectors such as aphids, whiteflies or thrips where relevant;
removal of severely affected plants where appropriate;
field sanitation;
weed control;
and avoiding contaminated tools and planting materials.
Do not automatically confuse a viral disease with a nutrient deficiency.
34. CALCIUM AND BLOSSOM-END ROT
Sometimes fruit develops a dark or rotting area at the blossom end.
A farmer may immediately think:
“The crop lacks calcium.”
However, blossom-end rot can also be associated with poor calcium movement within the plant caused by water stress and inconsistent soil moisture, rather than simply a lack of calcium in the soil.
Therefore:
maintain consistent irrigation;
avoid severe drought;
avoid waterlogging;
maintain healthy roots;
test the soil;
and correct the actual cause.
35. POTASSIUM AND FRUIT QUALITY
Potassium plays important roles in:
plant growth;
water regulation;
fruit development;
fruit quality;
and plant strength.
However:
Do not apply SOP or MOP simply because the crop is pepper.
First consider the soil-test result and the complete nutrient program.
Professional production recommendations also use soil-test information when determining potassium requirements.
36. PRUNING — IS IT NECESSARY?
Not every pepper variety requires heavy pruning.
Do not cut branches without a clear reason.
Pruning requirements depend on:
variety;
plant architecture;
spacing;
disease pressure;
and production objectives.
Excessive pruning can reduce the leaf area needed for photosynthesis and may expose fruit to excessive sunlight.
37. STAKING
Some hot pepper varieties produce many branches and heavy fruit loads.
Staking can help:
prevent branches from falling onto the ground;
reduce branch breakage;
improve harvesting;
improve airflow;
and make crop management easier.
However, not every variety necessarily requires staking.
38. FLOWERING — A CRITICAL STAGE
During flowering:
maintain stable soil moisture;
avoid excessive nitrogen;
monitor thrips;
minimize plant stress;
ensure essential nutrients are available;
monitor temperature conditions.
High temperatures can interfere with fruit set in some pepper types, although small-fruited pungent peppers can be more tolerant than bell peppers.
39. FRUIT DEVELOPMENT
When the plant is carrying fruit, we want:
consistent water supply;
adequate potassium;
adequate calcium;
healthy roots;
effective pest management;
and effective disease management.
Do not suddenly change irrigation from severe dryness to excessive watering.
40. HARVESTING
The first harvest date depends on:
variety;
whether you harvest green fruit;
whether you harvest red ripe fruit;
climate;
transplanting date;
and crop management.
Different pepper types have significantly different maturity periods. Some chile types, for example, may take substantially longer to reach mature green or red-ripe stages.
41. HOW TO HARVEST
Harvest carefully.
Do not pull fruit forcefully and break branches.
Use:
clean hands;
clean scissors or pruning shears where appropriate;
clean crates or containers.
Do not throw harvested fruit onto the ground.
42. REGULAR HARVESTING
Where the market requires fresh peppers, harvesting at regular intervals helps:
remove mature fruit;
allow the plant to continue producing;
maintain quality;
and reduce overripe or rotten fruit remaining in the field.
Regular harvesting is recommended in commercial pepper production to maintain continued production.
43. POST-HARVEST HANDLING
Do not leave harvested peppers:
under strong sunlight;
on bare soil;
compressed inside unsuitable sacks;
or in excessively hot conditions.
Instead:
Sort.
Remove rotten fruit.
Remove damaged fruit.
Grade according to market requirements.
Pack properly.
Deliver to the market promptly.
44. ONE-ACRE WORK PLAN
Week 0
Soil testing.
Market research.
Seed selection.
Nursery preparation.
Weeks 1–2
Germination.
Moisture management.
Damping-off monitoring.
Pest scouting.
Weeks 3–5
Seedling management.
Hardening.
Field preparation.
Manure/compost application.
Weeks 5–8
Transplanting.
Irrigation.
Gap filling.
Weed control.
Weeks 2–4 after transplanting
Root development.
Stem development.
Branching.
Early nutrient management.
Weeks 4–7
Flowering.
Intensive scouting.
Thrips/aphid/whitefly monitoring.
Flower-stage nutrition.
Weeks 6–10+
Fruit set.
Fruit development.
Potassium management.
Consistent irrigation.
Harvest period
Regular harvesting.
Sorting.
Grading.
Packaging.
Marketing.
45. ONE-ACRE MEASUREMENT SUMMARY
| Item | Indicative level/example |
|---|---|
| Target plant population | ~8,000 plants |
| Spacing | 100 × 50 cm |
| Seedlings to prepare | ~8,800–9,500 |
| Manure/compost | 5–10 tonnes |
| Target soil pH | ~6.0–6.8 |
| NPK 17-17-17 | 100 kg/acre as an example* |
| Example total actual N | ~45 kg/acre* |
| Urea 46% for 45 kg N | ~98 kg Urea* |
| Irrigation | Based on soil, weather and crop stage |
| Scouting | At least 2 times/week |
| Crop rotation | Recommended |
* These are not mandatory rates for every field. NPK, Urea, CAN, SOP and other fertilizers must be calculated together to avoid applying excessive nutrients.
46. 15 COMMON MISTAKES TO AVOID
1. Planting without knowing the market.
2. Using unreliable seed.
3. Failing to test the soil.
4. Applying fertilizer randomly.
5. Transplanting weak seedlings.
6. Transplanting without preparing irrigation.
7. Using unsuitable spacing.
8. Over-irrigating.
9. Allowing severe water stress.
10. Delaying weed control.
11. Waiting until pest populations become severe before scouting.
12. Mixing pesticides without checking compatibility.
13. Ignoring the pre-harvest interval.
14. Leaving rotten fruit in the field.
15. Failing to keep farm records.
47. RECORDS EVERY FARMER SHOULD KEEP
Record:
planting date;
variety;
seed quantity;
number of seedlings;
transplanting date;
fertilizer used;
quantity applied;
fertilizer application date;
pesticide used;
active ingredient;
application rate;
spraying date;
pre-harvest interval;
irrigation volume or duration;
harvesting date;
harvested kilograms;
selling price;
production costs.
These records help you determine whether your one-acre pepper enterprise is actually profitable or not.
48. HOW TO IMPROVE ONE-ACRE PRODUCTIVITY
Do not focus only on having many plants.
Focus on:
healthy plants × healthy flowers × good fruit set × quality fruit × a reliable market.
A well-managed one-acre farm can provide better control over:
irrigation;
fertilizer;
pests;
diseases;
harvesting;
and fruit quality.
49. WHAT DOES CHETU AGROSOLUTION ADVISE?
We at CHETU AGROSOLUTION recommend that you do not start hot pepper farming by buying seeds and fertilizer first.
Start with this plan:
STEP 1
Identify the market.
STEP 2
Select the right variety.
STEP 3
Test the soil.
STEP 4
Prepare a good nursery.
STEP 5
Produce healthy seedlings.
STEP 6
Prepare the field and establish good drainage.
STEP 7
Plant using suitable spacing.
STEP 8
Manage irrigation properly.
STEP 9
Use fertilizer according to a plan, not guesswork.
STEP 10
Scout the field regularly.
STEP 11
Identify pests and diseases before choosing a pesticide.
STEP 12
Harvest and grade according to the market.
50. WE ARE HERE TO SUPPORT YOU
Farmer, if you want to start hot pepper farming but you are unsure about:
which seed variety is suitable for your area;
which spacing to use;
which fertilizer to use;
how to plan crop nutrition;
how to identify pests;
how to identify diseases;
how to plan irrigation;
or you have a field problem and do not know its cause,
contact CHETU AGROSOLUTION.
We provide agricultural advice, help farmers select suitable agricultural inputs according to the crop and growth stage, and support farmers in planning appropriate fertilizer and crop-protection programs.
Visit CHETU AGROSOLUTION — chetuagro.com for more information about agricultural inputs, seeds, agronomic advice and services available to farmers.
CHETU AGROSOLUTION
Better Inputs. Better Harvests. Better Lives.
Farmer, do not farm by guesswork. Farm with a plan, test, monitor and take action at the right time.