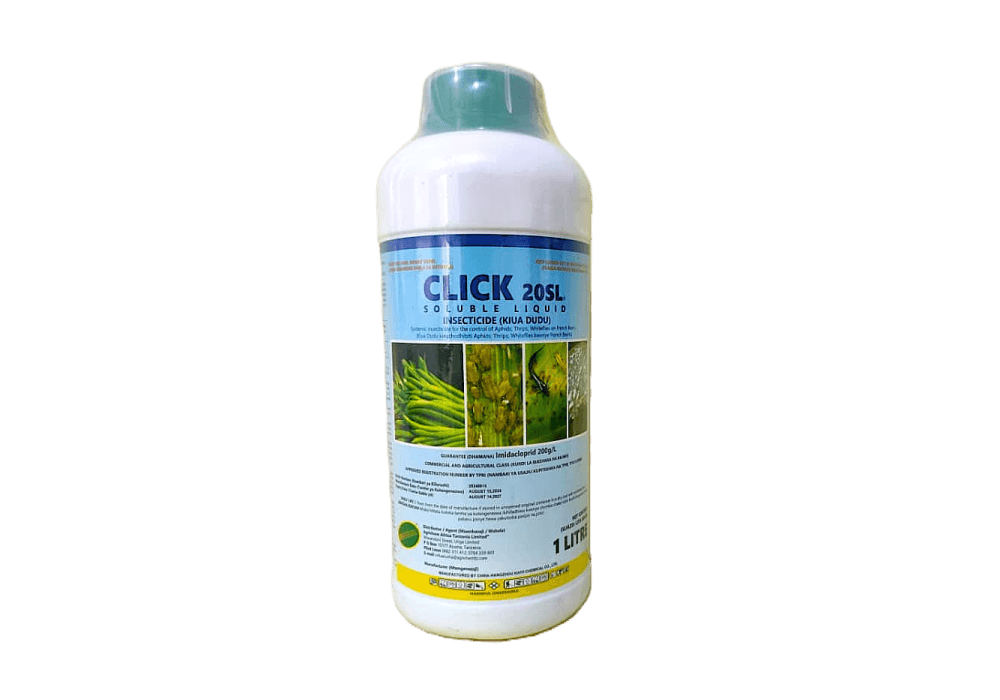
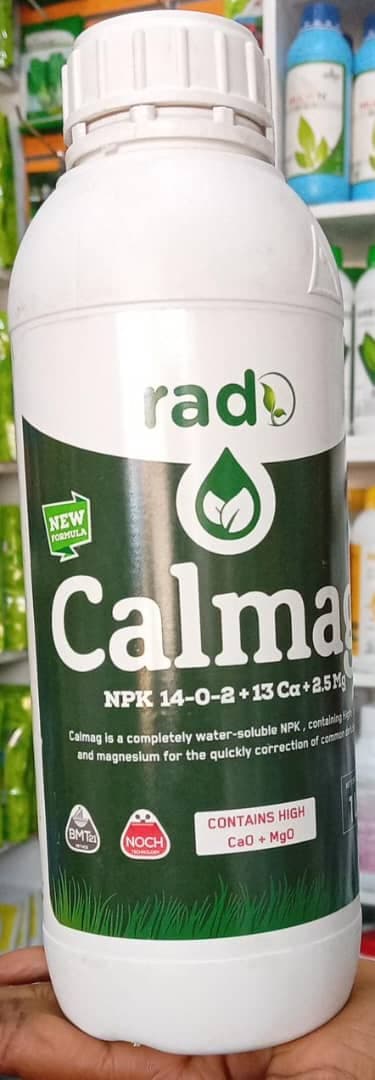
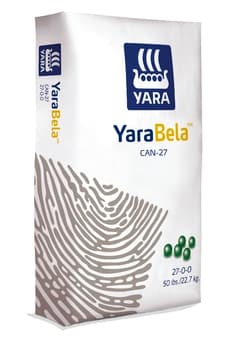
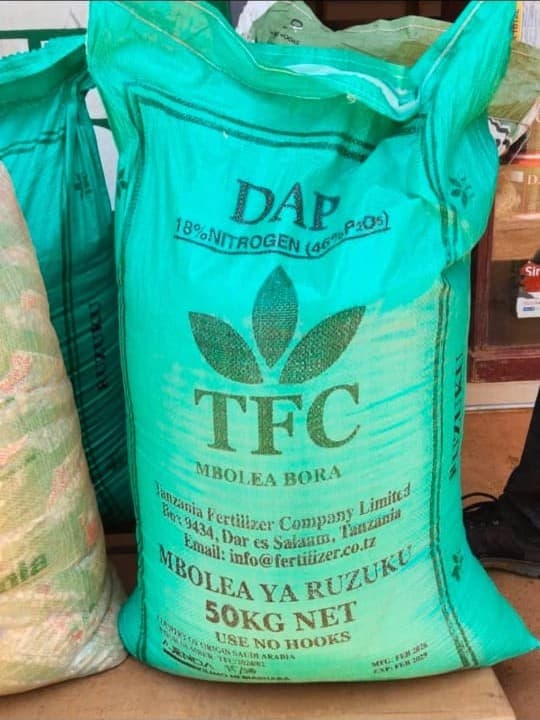
TOMATO FARMING ON ONE ACRE
By CHETU AGROSOLUTION · 6 October 2026
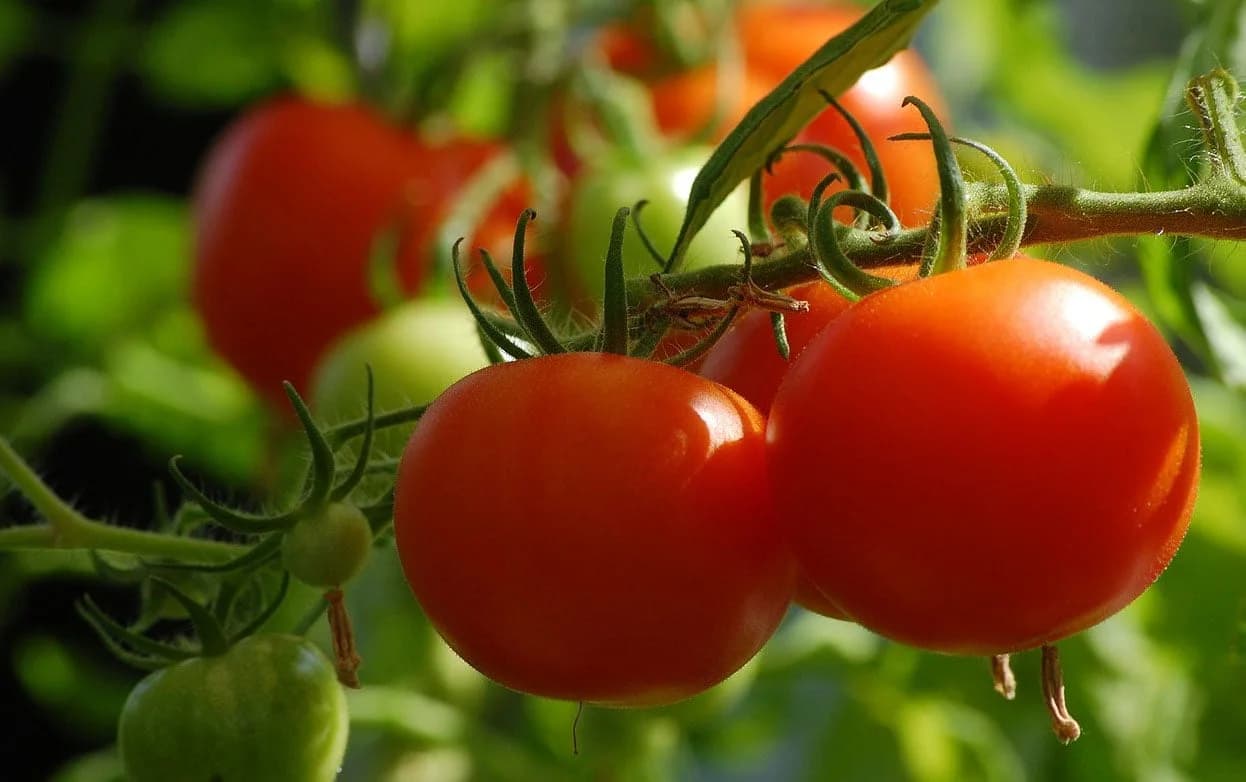
A STEP-BY-STEP GUIDE TO FERTILIZER RATES, IRRIGATION, CROP MANAGEMENT AND HARVEST
Tomato farming can be a profitable agricultural enterprise when it is properly planned and managed. However, successful tomato production requires more than simply planting seedlings and applying fertilizer. Farmers need to make the right decisions from market planning, seed selection, nursery management, soil preparation, fertilization, irrigation, pest and disease management, staking, pruning, harvesting and post-harvest handling.
At CHETU AGROSOLUTION, we encourage farmers to treat tomato production as a business from the beginning. Before planting, understand your target market, estimate your production costs, select a suitable variety and prepare a crop-management plan.
Visit CHETU AGROSOLUTION for agricultural inputs, seeds and professional agronomic support.
1. MARKET PLANNING BEFORE PLANTING
Before purchasing seed or preparing your field, answer the following questions:
Who will buy your tomatoes?
What tomato type does your market prefer?
Will you sell to wholesalers, retailers, hotels, processors or consumers?
What is the expected harvesting period?
How much money is available for production?
Do you have reliable irrigation throughout the crop cycle?
How will you transport tomatoes to the market?
Do not plant first and start looking for a market later.
Tomato prices can change significantly depending on location, season, supply and demand. Therefore, proper market planning is an important part of reducing production risk.
2. SELECT THE RIGHT TOMATO VARIETY
Choose a variety according to:
Target market
Climate
Disease pressure
Production season
Irrigation availability
Desired fruit size
Fruit firmness
Shelf life
Transport requirements
Expected maturity period
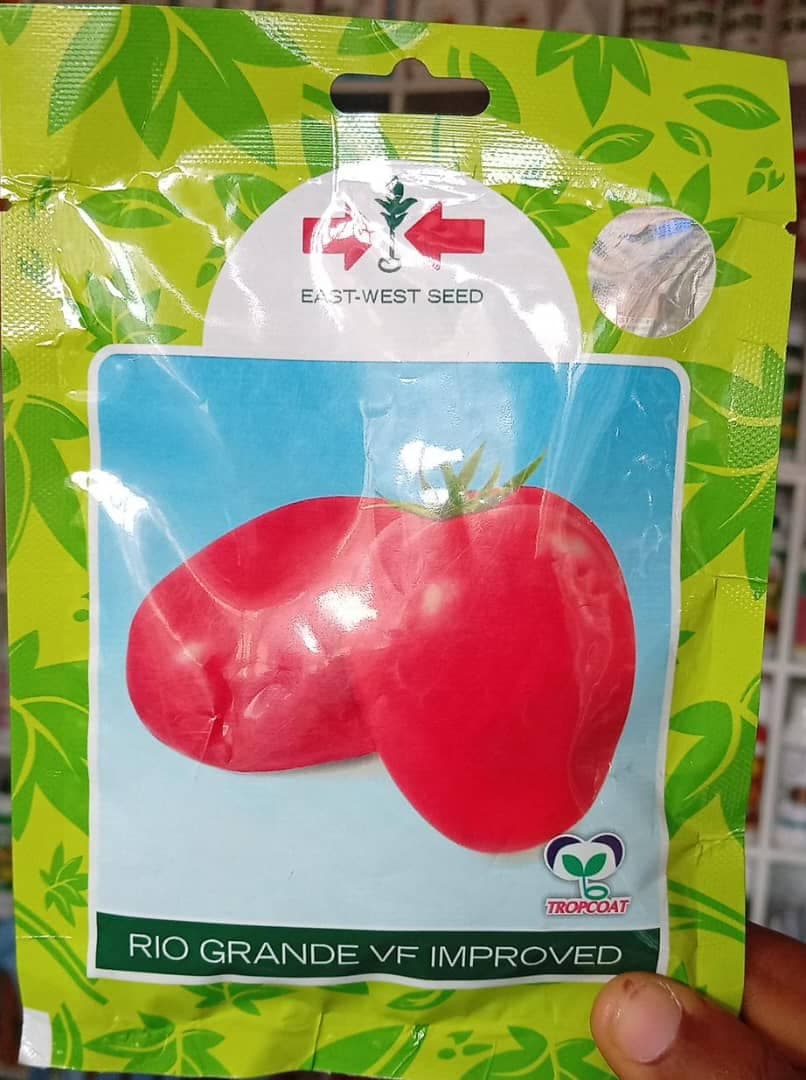
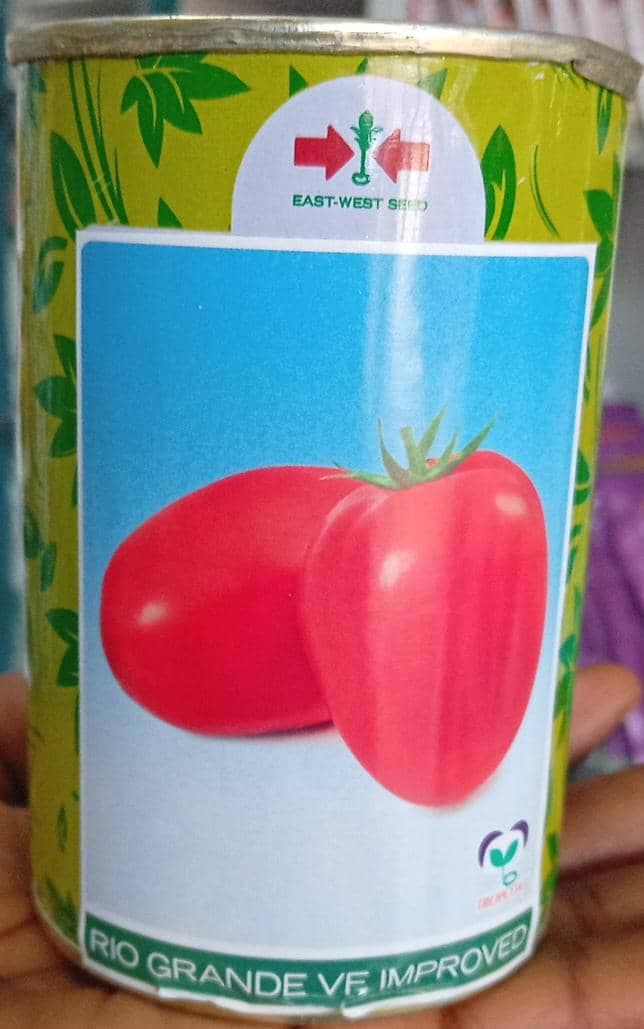
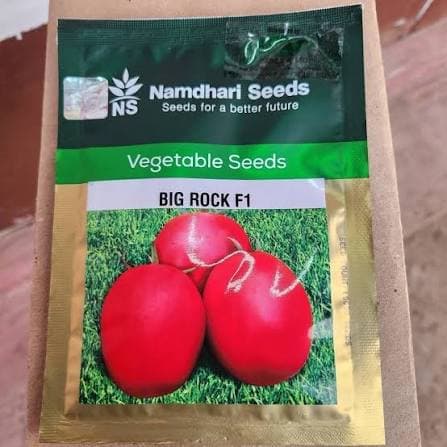
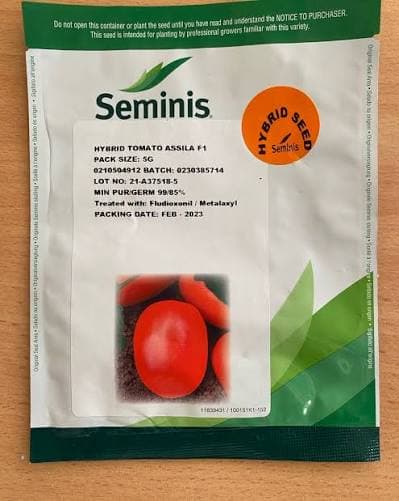
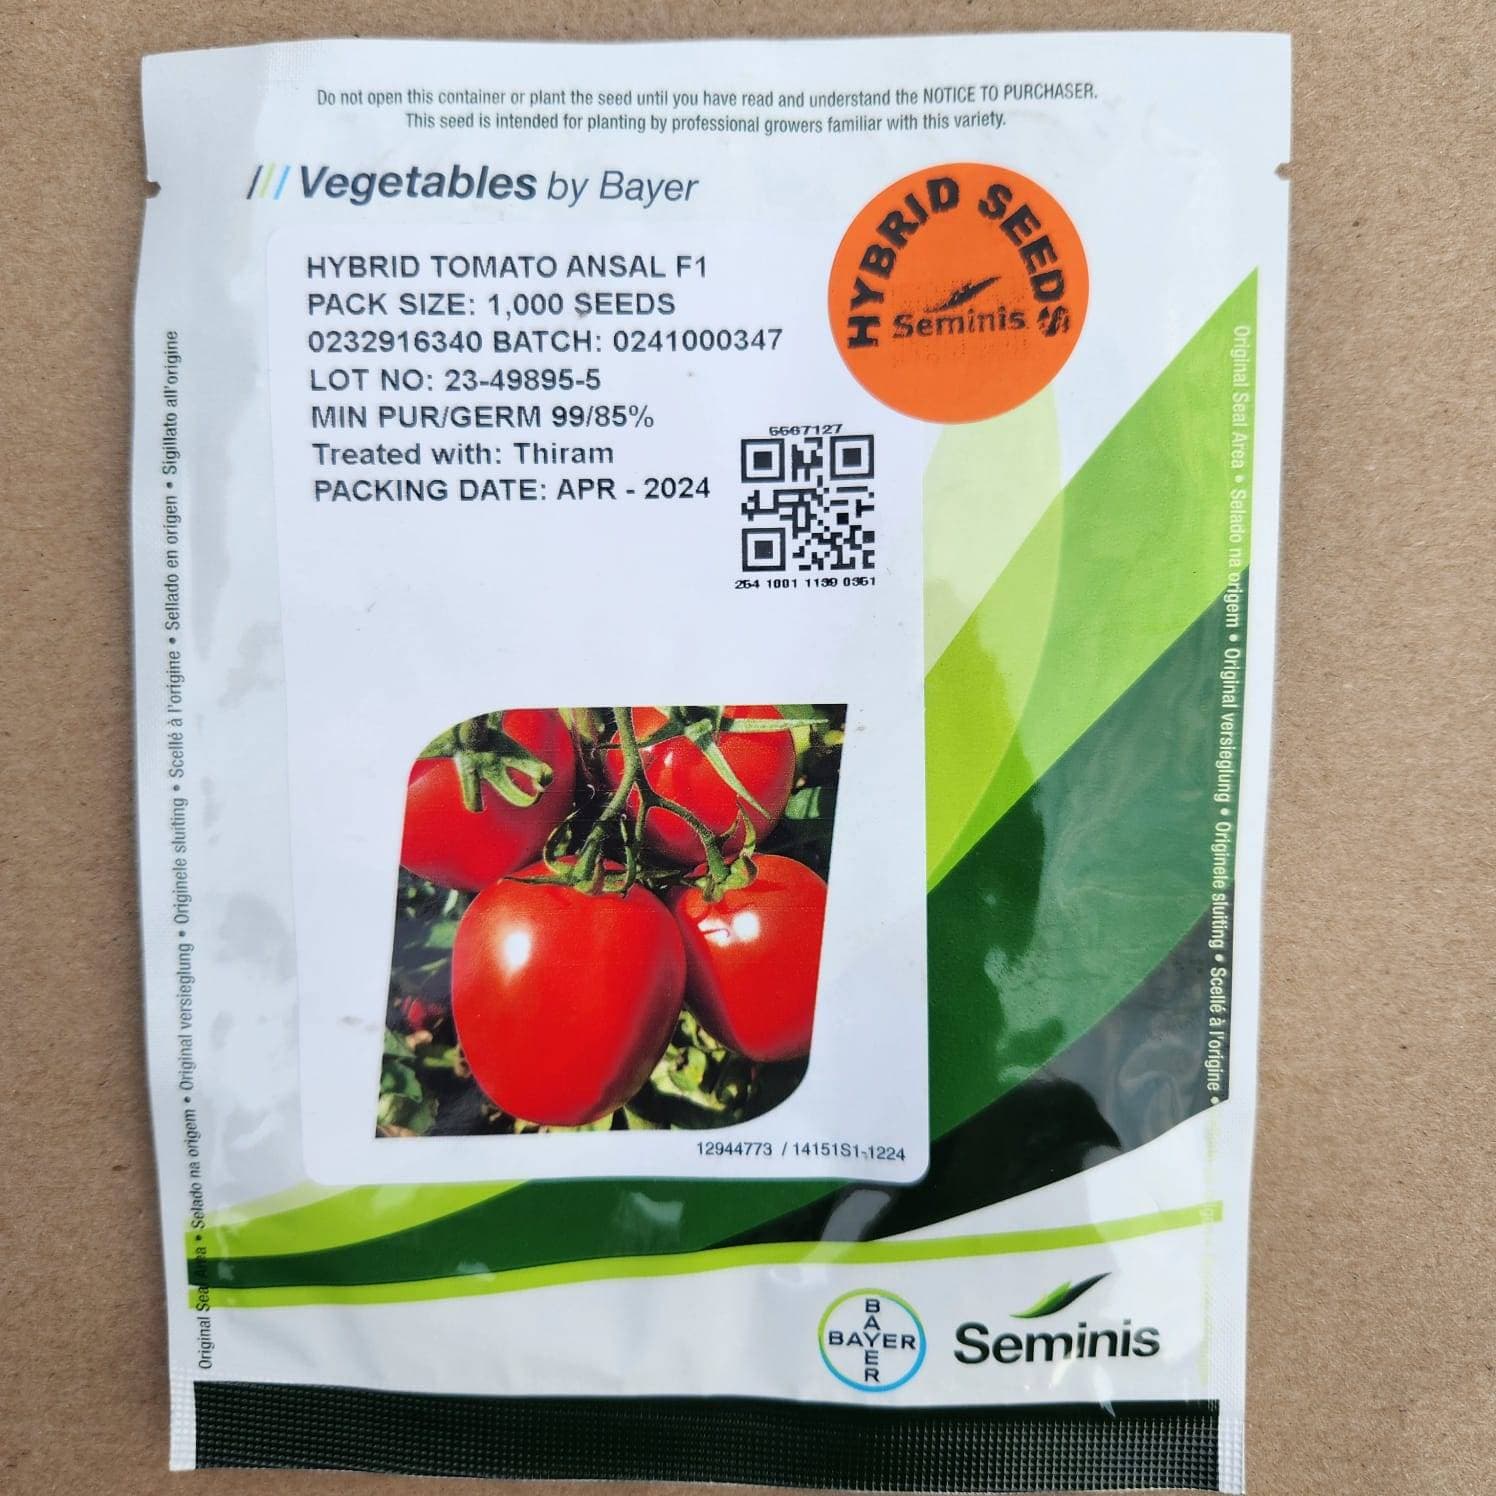
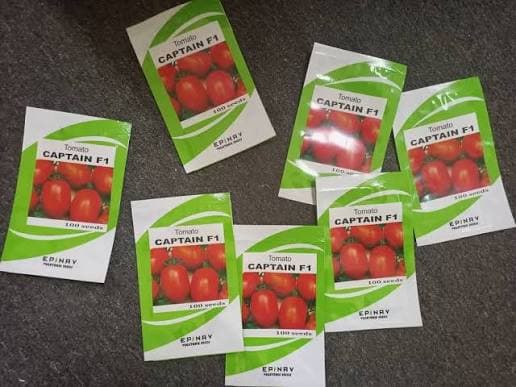
Always purchase quality seed from a reliable source. Seed quality has a major influence on crop establishment and uniformity.
For commercial production, avoid using unknown or poor-quality seed simply because it is cheaper.
3. HOW MUCH SEED IS REQUIRED FOR ONE ACRE?
The amount of seed required depends on:
Seed size
Germination percentage
Seedling losses
Variety
Desired plant population
Spacing
For a commercial crop targeting approximately 10,000–15,000 plants per acre, around 30–50 grams of seed may be sufficient in many cases, but the actual requirement should be calculated from the seed's number of seeds per gram and germination percentage.
Do not buy seed based only on grams. Check the information provided on the seed package.
4. ESTABLISHING THE NURSERY
Tomatoes are commonly established in a nursery before transplanting.
Nursery preparation
Choose a nursery site that:
Has good drainage
Is close to a reliable water source
Has good sunlight
Is protected from animals
Has fertile, clean growing media
Has low disease pressure
Seed sowing depth
Tomato seeds are generally planted approximately 0.5–1.0 cm deep.
Avoid planting too deeply because this can delay emergence and weaken seedlings.
Nursery management
During the nursery stage:
Water carefully.
Avoid waterlogging.
Remove weak or diseased seedlings.
Monitor for damping-off.
Control weeds.
Provide adequate sunlight.
Avoid overcrowding.
Protect seedlings from insect pests.
Seedlings may be ready for transplanting at approximately 5–8 weeks, depending on variety, environmental conditions and nursery management.
5. HARDENING THE SEEDLINGS
Before transplanting, gradually prepare seedlings for field conditions.
For approximately 5–7 days before transplanting, reduce excessive nursery protection and gradually expose seedlings to field-like conditions while maintaining adequate moisture.
Hardening helps reduce transplanting shock.
Healthy transplanting material should have:
Strong stems
Healthy green leaves
Good root development
No obvious pest damage
No serious disease symptoms
Do not transplant weak or diseased seedlings simply because they have reached the required age.
6. SOIL SELECTION AND SOIL TESTING
Choose land with:
Good drainage
Good fertility
Adequate organic matter
Reliable water availability
Good sunlight
No history of serious soil-borne disease where possible
Tomatoes perform well in slightly acidic soils, with a commonly recommended pH range of approximately 6.0–6.8.
Soil testing is extremely important.
A soil test can help determine:
Soil pH
Nitrogen status
Phosphorus
Potassium
Calcium
Magnesium
Organic matter
Other nutrient conditions
Do not apply large amounts of fertilizer blindly.
At CHETU AGROSOLUTION, we advise farmers to base fertilizer decisions on soil condition, crop stage, variety, irrigation system and production target.
7. LAND PREPARATION
Prepare the field thoroughly before transplanting.
Remove:
Weeds
Crop residues that may carry disease
Stones and unnecessary debris
Prepare raised beds or suitable planting rows where drainage is a concern.
A practical bed arrangement may include:
Bed width: approximately 75–100 cm
Pathways: approximately 40–60 cm
The exact arrangement can be adjusted according to the irrigation system and field conditions.
8. APPLYING ORGANIC MANURE OR COMPOST
Well-decomposed manure or compost can improve soil structure and contribute nutrients.
As an indicative starting range:
5–10 tonnes of well-decomposed manure or compost per acre
However, the actual amount should depend on:
Manure quality
Soil organic matter
Nutrient analysis
Soil test
Previous cropping history
Never use fresh manure directly around tomato roots because it can damage plants and increase certain production problems.
9. TOMATO PLANT SPACING
A practical commercial spacing example is:
60–75 cm between rows
40–50 cm between plants
For example, at approximately 60 cm × 45 cm, theoretical plant population can approach 15,000 plants per acre, although actual field population depends on bed layout, pathways and the production system.
Spacing should be adjusted according to:
Variety
Plant growth habit
Irrigation method
Disease pressure
Staking system
Soil fertility
Very crowded fields can have poor air circulation and higher disease pressure.
10. TRANSPLANTING
Transplant seedlings preferably during cooler hours, such as late afternoon or on a cloudy day.
Steps:
Water seedlings before transplanting.
Prepare planting holes.
Handle seedlings carefully.
Avoid damaging roots.
Plant at the appropriate depth.
Firm soil gently around the root zone.
Irrigate immediately after transplanting.
Monitor seedlings closely during the first week.
Avoid transplanting severely stressed or diseased seedlings.
11. FERTILIZER MANAGEMENT FOR ONE ACRE
One of the biggest mistakes in tomato production is assuming that one fertilizer program works for every field.
There is no single universal fertilizer rate for every acre.
Fertilizer requirements depend on soil test results, nutrient availability, variety, plant population, yield target, irrigation system and previous crop history.
Tomatoes commonly perform well in soils around pH 6.0–6.8, and phosphorus and potassium recommendations should preferably be based on soil-test results.
12. UNDERSTANDING ACTUAL NUTRIENTS VS. FERTILIZER PRODUCT
Farmers must understand the difference between:
Actual Nitrogen (N)
Actual Phosphorus expressed as P₂O₅
Actual Potassium expressed as K₂O
For example:
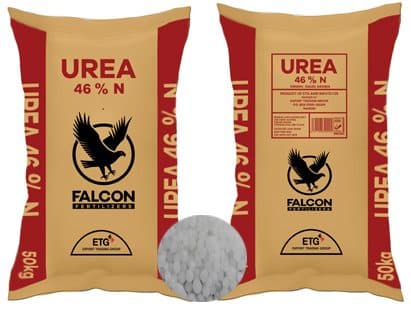
Urea 46-0-0
100 kg of urea contains approximately:
46 kg Nitrogen
Therefore:
45 kg actual N ÷ 0.46 = approximately 98 kg urea
This is an example of nutrient calculation, not a universal recommendation that every farmer must apply 98 kg of urea per acre.
13. EXAMPLE OF FERTILIZER CALCULATION
Suppose a farmer uses:
100 kg DAP 18-46-0
This provides approximately:
18 kg N
46 kg P₂O₅
If the farmer then applies:
60 kg Urea 46-0-0
This provides:
27.6 kg N
Therefore, the two products together provide approximately:
45.6 kg actual N
46 kg P₂O₅
If the farmer applies:
100 kg SOP 0-0-50
This provides:
50 kg K₂O
Again, this is an illustrative nutrient-calculation example, not a fixed fertilizer program for every tomato field.
14. INDICATIVE TOMATO FERTILIZER PROGRAM
A general production framework may look like this:
| Crop Stage | Fertilizer Approach |
|---|---|
| Land preparation | Well-decomposed manure/compost according to soil condition |
| Before/at transplanting | Basal fertilizer based on soil test |
| 1–2 weeks after transplanting | Light nutrient support where required |
| 2–4 weeks | Nitrogen and other nutrients according to crop condition |
| 4–6 weeks | Support vegetative growth and flowering |
| Flowering | Maintain balanced nutrition, especially adequate K |
| Fruit setting | Support K and other required nutrients |
| Fruit development | Maintain balanced N/K and adequate moisture |
| Extended harvesting | Continue nutrient replacement according to crop demand |
Excessive nitrogen can promote excessive vegetative growth and may contribute to delayed maturity and some physiological problems. Therefore, do not apply nitrogen simply because the crop is growing slowly without first identifying the cause.
15. PHOSPHORUS REQUIREMENT
Phosphorus should preferably be determined using soil-test results.
An example soil-test-based recommendation framework gives approximately:
| Soil Test P Index | P₂O₅ per Acre |
|---|---|
| 0 | 68 kg |
| 10 | 57 kg |
| 20 | 45 kg |
| 40 | 25 kg |
| 65+ | 0 kg |
These figures are converted from extension recommendations and should not be treated as a universal Tanzanian fertilizer prescription. Local soil-test interpretation and agronomic advice should take priority.
16. POTASSIUM REQUIREMENT
Potassium is particularly important for:
Fruit development
Fruit quality
Plant strength
Water regulation
Overall crop performance
An example soil-test-based framework gives approximately:
| Soil Test K Index | K₂O per Acre |
|---|---|
| 0 | 102 kg |
| 75 | 75 kg |
| 125 | 54 kg |
| 200 | 23 kg |
| 250+ | 0 kg |
Again, these figures are examples based on a specific soil-test interpretation system, not a universal fertilizer prescription for every farm.
17. WEEK 1–2 AFTER TRANSPLANTING
The main objective at this stage is successful establishment.
Monitor:
Plant survival
Root development
Soil moisture
Early pest damage
Disease symptoms
Nutrient deficiency symptoms
Avoid excessive irrigation.
The soil should remain adequately moist but not waterlogged.
18. WEEK 2–4: VEGETATIVE DEVELOPMENT
At this stage:
Continue irrigation.
Control weeds.
Begin staking where required.
Scout for insects.
Monitor nutrient status.
Remove severely diseased plants where necessary.
Maintain good field sanitation.
This is also the stage where farmers should begin paying close attention to plant architecture.
19. STAKING AND SUPPORTING TOMATO PLANTS
For indeterminate tomato varieties, staking can help:
Keep fruit away from the soil
Improve air circulation
Reduce fruit damage
Improve harvesting
Improve spray coverage
Make field operations easier
Support plants early rather than waiting until they become too large.
20. WEEK 4–6: FLOWERING STAGE
During flowering:
Maintain adequate moisture.
Avoid severe water stress.
Monitor flower drop.
Maintain balanced nutrition.
Scout for thrips and other flower-associated pests.
Monitor diseases.
Do not assume flower drop is always caused by lack of fertilizer.
Flower drop can also be associated with:
Temperature stress
Water stress
Poor pollination
Excessive nitrogen
Pest damage
Disease
Environmental conditions
21. WEEK 6–10: FRUIT SET AND DEVELOPMENT
This is a critical stage because the crop is moving toward harvest.
The farmer should focus on:
Consistent irrigation
Balanced nutrition
Potassium management
Pest control
Disease management
Staking
Weed control
Fruit protection
Avoid sudden changes in irrigation.
Large fluctuations in soil moisture can increase fruit cracking. Drip irrigation can help provide more uniform moisture around the root zone.
22. IRRIGATION MANAGEMENT
Water management is one of the most important factors in tomato production.
A general guide for large tomato plants during warm, dry conditions is approximately:
50–75 mm of water per week
This is equivalent to approximately:
2–3 inches per week
Actual irrigation requirements vary according to:
Soil type
Temperature
Rainfall
Plant size
Wind
Mulching
Irrigation method
Crop stage
Extension guidance also emphasizes that large fluctuations in soil moisture can increase tomato fruit cracking, while drip irrigation can improve water-use efficiency.
23. SIMPLE DRIP IRRIGATION CALCULATION
Suppose you have:
12,000 tomato plants per acre
If the crop receives an average of:
1 litre per plant per day
Total:
12,000 × 1 L = 12,000 litres/day
If the crop requires:
2 litres per plant per day
Then:
12,000 × 2 L = 24,000 litres/day
These are calculation examples, not fixed irrigation prescriptions.
The actual amount should be adjusted according to weather, soil moisture, plant size and crop demand.
24. WEED MANAGEMENT
Weeds compete with tomatoes for:
Water
Nutrients
Light
Space
They can also provide shelter for insect pests and pathogens.
Control weeds early before they become established.
Use appropriate methods such as:
Hand weeding
Hoeing
Mulching
Mechanical control
Approved herbicides where appropriate
If herbicides are used, always follow the product label and use products registered for the intended crop and situation.
25. IMPORTANT TOMATO PESTS
Common tomato pests may include:
Tuta absoluta
Can cause serious damage to leaves, stems and fruits.
Whiteflies
Can weaken plants and may transmit viral diseases.
Aphids
Can cause curling, distortion and may transmit viruses.
Thrips
Can damage leaves and flowers and may transmit viruses.
Mites
Can cause stippling, bronzing and leaf damage, especially under hot and dry conditions.
Cutworms
Can cut young seedlings near the soil surface.
Farmers should scout the field regularly rather than waiting until damage becomes severe.
26. SCOUTING THE FIELD
We recommend scouting your tomato field at least twice per week, especially during periods of high pest and disease pressure.
During scouting, inspect:
Upper leaves
Lower leaves
Flowers
Stems
Fruits
Root zone
Soil moisture
Undersides of leaves
Record what you observe.
Early detection usually gives farmers more management options.
27. IMPORTANT TOMATO DISEASES
Tomatoes can be affected by many diseases, including:
Early blight
Late blight
Bacterial wilt
Fusarium wilt
Bacterial leaf spot
Septoria leaf spot
Powdery mildew
Anthracnose
Damping-off
Root rot
Viral diseases
The same symptom can sometimes have several possible causes.
For example, yellowing leaves can result from:
Nutrient deficiency
Root damage
Water stress
Disease
Pest infestation
Natural leaf ageing
Therefore:
Diagnose first, treat second.
Do not automatically spray a pesticide every time you see a yellow leaf.
28. ROOT HEALTH
Healthy roots are essential for healthy tomato plants.
Protect roots by:
Avoiding waterlogging
Improving drainage
Avoiding excessive fertilizer concentration
Preventing unnecessary root damage
Using healthy seedlings
Maintaining appropriate irrigation
Managing soil-borne diseases
Poor drainage can damage roots and increase susceptibility to other problems.
29. BLOSSOM-END ROT
Blossom-end rot appears as a dark, sunken area at the blossom end of the tomato fruit.
It is strongly associated with problems in calcium availability and, importantly, inconsistent water supply to the plant.
Management includes:
Maintaining uniform soil moisture
Avoiding severe drought stress
Avoiding excessive waterlogging
Maintaining balanced fertility
Improving root health
Using drip irrigation where practical
Applying calcium amendments only when justified by soil conditions
Extension guidance emphasizes maintaining adequate and uniform soil moisture as an important management practice for blossom-end rot.
30. FRUIT CRACKING
Tomato fruits may crack when there are large fluctuations in water availability, especially after periods of dry conditions followed by excessive moisture.
To reduce the risk:
Maintain relatively uniform soil moisture.
Avoid severe drought stress.
Use mulch where appropriate.
Use drip irrigation where practical.
Avoid unnecessary irrigation extremes.
31. PESTICIDE USE
At CHETU AGROSOLUTION, we advise farmers not to spray pesticides randomly.
Before applying a product:
Identify the pest or disease.
Confirm that the product is registered for the intended use.
Read the product label.
Use the recommended rate.
Observe the pre-harvest interval (PHI).
Wear appropriate protective equipment.
Avoid unnecessary mixtures.
Rotate modes of action where appropriate.
Keep records of applications.
Follow safe storage and disposal procedures.
Correct diagnosis is essential.
32. HARVESTING TOMATOES
Harvesting time depends on:
Variety
Market
Distance to market
Intended use
Desired maturity stage
For distant markets, tomatoes may be harvested at an earlier maturity stage, while local markets may accept more mature fruit.
Handle tomatoes carefully to reduce:
Bruising
Cuts
Crushing
Post-harvest rots
33. POST-HARVEST HANDLING
After harvesting:
Sort tomatoes according to size and quality.
Remove damaged or diseased fruits.
Use clean containers.
Avoid overfilling crates.
Keep produce away from direct excessive heat.
Transport carefully.
Avoid unnecessary handling.
Good post-harvest management can help farmers preserve quality and reduce losses.
34. WEEKLY TOMATO FARM MANAGEMENT CHECKLIST
Every week, the farmer should check:
Monday
Inspect irrigation.
Check plant growth.
Check for wilted plants.
Tuesday
Scout for insects.
Inspect the underside of leaves.
Wednesday
Check weeds.
Inspect flowers and young fruits.
Thursday
Assess soil moisture.
Check for disease symptoms.
Friday
Review crop nutrition.
Inspect staking and plant support.
Saturday
Record pest and disease observations.
Review harvesting and market plans.
The exact schedule can be adjusted according to farm size and labour availability.
35. COMMON MISTAKES TOMATO FARMERS SHOULD AVOID
Mistake 1: Planting without a market plan
Know your target market before planting.
Mistake 2: Using poor-quality seed
Use quality seed from reliable sources.
Mistake 3: Skipping soil testing
Do not guess your fertilizer requirement.
Mistake 4: Applying too much nitrogen
Excess nitrogen can promote excessive vegetative growth.
Mistake 5: Poor irrigation management
Avoid both drought stress and waterlogging.
Mistake 6: Ignoring weeds
Control weeds early.
Mistake 7: Spraying without diagnosis
Identify the problem first.
Mistake 8: Ignoring disease sanitation
Remove and manage infected plant material appropriately.
Mistake 9: Planting too densely
Poor spacing can increase humidity and disease pressure.
Mistake 10: Poor post-harvest handling
Rough handling increases losses.
36. HOW CHETU AGROSOLUTION CAN HELP YOU
At CHETU AGROSOLUTION, we do not want farmers to simply buy agricultural inputs and go home without understanding how to use them.
We support farmers with:
Quality agricultural inputs
Vegetable and crop seeds
Fertilizers
Crop protection products
Agronomic advice
Pest and disease identification
Fertilizer planning
Crop management guidance
Farm monitoring
Agricultural training
Delivery of agricultural inputs
Our goal is to help farmers make better decisions based on their crop, soil, production stage and farming conditions.
37. FINAL MESSAGE TO THE FARMER
Tomato farming can provide an important source of income when it is managed as a serious agricultural business.
The key is not simply to plant many tomato plants.
The key is to:
Plan well → use quality seed → test the soil → establish healthy seedlings → prepare the field → apply nutrients correctly → manage water → scout regularly → control pests and diseases correctly → harvest carefully → market efficiently.
At CHETU AGROSOLUTION, we encourage every farmer to seek professional agronomic advice before making major decisions on fertilizer and crop protection.
For agricultural inputs, seeds, fertilizer guidance, crop protection solutions and professional agronomic support, visit:
CHETU AGROSOLUTION — Pembejeo Bora, Mavuno Bora, Maisha Bora
CHETU AGROSOLUTION
Better Agricultural Inputs. Better Harvests. Better Lives.