OKRA FARMING PER ACRE
By CHETU AGROSOLUTION · 7 October 2026
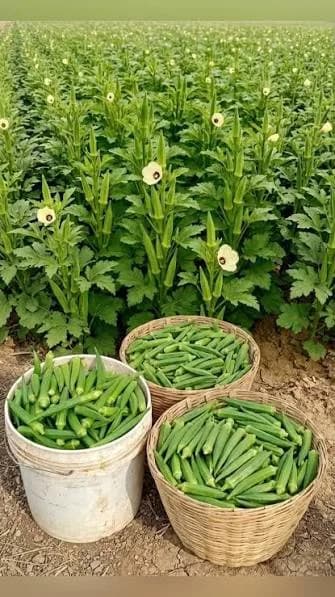
A STEP-BY-STEP GUIDE, SEED RATE, SPACING, FERTILIZER, WATER, PESTS, DISEASES AND HARVESTING
Farmer, okra is a vegetable crop that performs well under warm conditions, adequate sunlight, well-drained soils and proper nutrient management. However, just like other vegetable crops, successful okra production does not begin and end with planting.
At CHETU AGROSOLUTION, we want you to manage okra as a commercial crop, with proper planning from the first stage through harvesting and marketing.
You need to plan for:
The market before planting
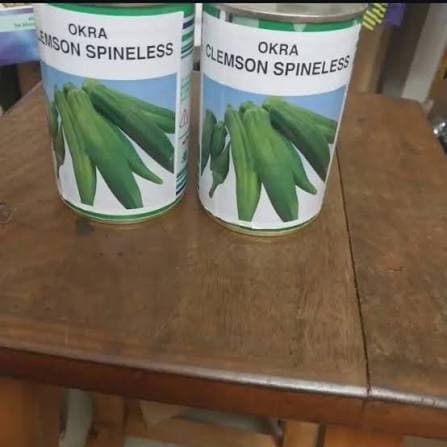
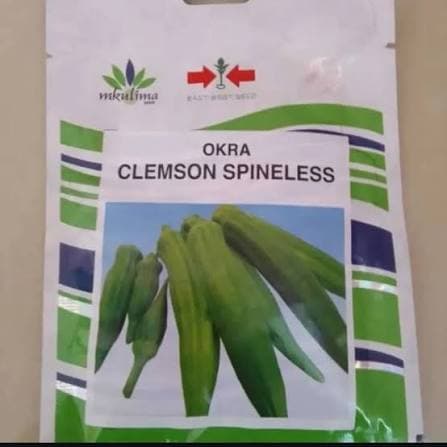
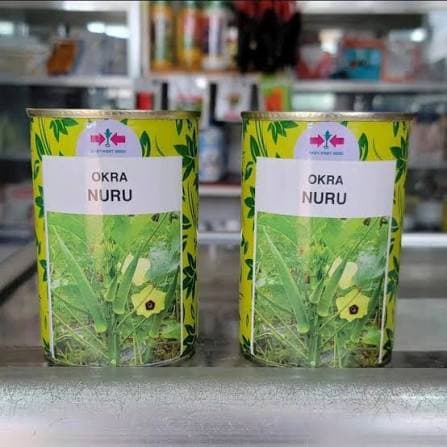
Seed selection
Site selection
Soil testing
Land preparation
Seed quantity
Plant spacing
Fertilizer management
Irrigation
Weed management
Pest management
Disease management
Regular harvesting
Produce grading and handling
Marketing
In this guide, we provide a practical one-acre okra production program. However, we emphasize one important point:
There is no single fertilizer program that is suitable for every farm.
Soil-test results, soil type, previous cropping history, okra variety, irrigation system and yield target should all be considered.
1. WHAT IS OKRA?
Okra is scientifically known as Abelmoschus esculentus.
It is grown mainly for its young pods, which are used as a vegetable.
Okra performs well in areas with:
Warm temperatures
Adequate sunlight
Fertile soil
Adequate moisture
Good drainage
Okra generally prefers soil with a pH of approximately:
6.0–6.8
If your soil is strongly acidic, do not apply lime simply by assumption. Test the soil first and determine whether lime is actually needed.
2. BEFORE PLANTING OKRA, PLAN YOUR MARKET
Farmer, do not start by buying seed.
Start by asking:
Where will you sell your okra?
Potential markets include:
Local vegetable markets
Wholesale traders
Retail traders
Hotels
Restaurants
Supermarkets
Processors
Export markets where appropriate market arrangements exist
Find out:
The price offered in your area
Preferred pod size
Preferred pod color
Preferred variety
Weekly demand
Transportation costs
At CHETU AGROSOLUTION, we advise you to understand your market before investing heavily in seed, fertilizer, pesticides and labor.
Do not plant one acre simply because you heard that okra is profitable.
First understand the market.
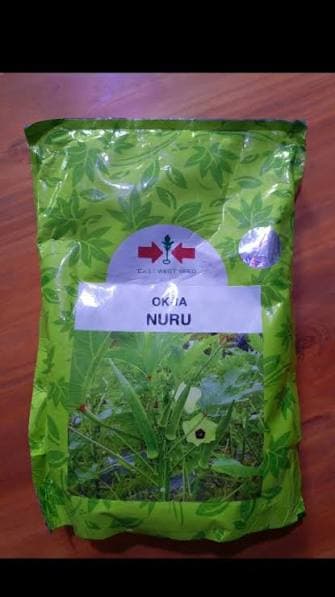
3. SELECT QUALITY SEED
Farmer, the quality of your seed is the foundation of your crop.
Your seed should be:
High quality
From a reliable source
Suitable for your climate
Suitable for your market
High in germination capacity
Free from contamination
Free from obvious signs of disease
Suitable for the intended production system
When choosing a variety, consider:
Yield potential
Pod quality
Pod size
Maturity period
Plant architecture
Disease tolerance
Market demand
Suitability to your area
Direct-seeded okra is the primary establishment method in many commercial production systems.
4. HOW MUCH SEED IS REQUIRED FOR ONE ACRE?
Seed requirement depends on:
Variety
Plant spacing
Germination percentage
Seed size
Production system
Whether thinning will be done after emergence
Different production guides use different seed rates depending on production conditions.
Therefore, do not buy seed simply based on a fixed kilogram figure.
For a one-acre commercial field, a practical starting range can be approximately:
3–5 kg of seed per acre
However, always check the seed company's recommended planting rate for the specific variety.
The most important thing is to achieve the correct final plant population rather than simply maximizing the amount of seed planted.
5. SELECT THE RIGHT FARM SITE
Choose a field that:
Receives adequate sunlight
Has good drainage
Does not remain waterlogged
Has suitable soil
Has access to irrigation where necessary
Has a low history of serious soil-borne diseases
Is accessible during harvesting
Okra performs best under full sunlight and can tolerate warm conditions. Poor drainage, however, can create serious production problems.
If drainage is poor, raised beds can be useful.
6. TEST YOUR SOIL BEFORE PLANTING
This is one of the steps we strongly emphasize.
Test for:
pH
Nitrogen (N)
Phosphorus (P)
Potassium (K)
Calcium (Ca)
Magnesium (Mg)
Sulfur (S)
Organic matter
Micronutrients where necessary
Okra generally performs well at a soil pH of approximately 6.0–6.8.
Why is soil testing important?
Because your field may have:
Excess nitrogen
Low phosphorus
Low potassium
Low pH
Adequate calcium
Low organic matter
Therefore:
Do not copy another farmer's fertilizer program without knowing the condition of your own soil.
7. LAND PREPARATION
Begin land preparation early.
Step 1: Clear the field
Remove:
Weeds
Diseased crop residues
Infected plant roots where appropriate
Bushes and unwanted vegetation
Step 2: Plough
Plough sufficiently to:
Loosen the soil
Break hard layers
Improve root penetration
Improve soil preparation
Step 3: Harrow
Break large soil clods and create a suitable seedbed.
Step 4: Prepare raised beds where necessary
If drainage is poor, raised beds can help reduce waterlogging.
Conventional land preparation can include ploughing, disking and harrowing, while raised beds can be useful where drainage is inadequate.
8. ORGANIC MANURE OR COMPOST
Well-decomposed manure or compost can help improve soil organic matter and contribute nutrients.
Where manure is available:
Use properly decomposed manure
Avoid using fresh manure directly around the seed
Incorporate it appropriately during land preparation
Consider its nutrient contribution when developing your fertilizer program
Different production guides use different manure rates depending on manure quality and production conditions.
As an indicative starting range:
Approximately 3–5 tonnes of well-decomposed manure or compost per acre
may be considered where appropriate.
However, the correct amount depends on:
Manure quality
Soil organic matter
Soil fertility
Previous crop
Soil-test results
9. OKRA PLANT SPACING
Spacing depends on:
Variety
Plant architecture
Soil fertility
Irrigation
Production system
Expected plant size
A practical commercial spacing can be:
60 cm between rows × 30–45 cm between plants
Some production guides use wider row spacing for larger varieties, while dwarf types can be planted more closely. Oklahoma State guidance, for example, recommends approximately 42-inch rows for dwarf types and 48–60-inch rows for medium-to-large types, with final within-row spacing adjusted according to plant type.
The important principle is:
Give each plant enough space for sunlight, airflow, growth and easy harvesting.
10. HOW MANY PLANTS CAN FIT ON ONE ACRE?
One acre is approximately:
4,047 square metres
At 60 cm × 30 cm
Area occupied by one plant:
0.60 × 0.30 = 0.18 m²
Therefore:
4,047 ÷ 0.18 ≈ 22,483 planting positions
At 60 cm × 45 cm
Area occupied by one plant:
0.60 × 0.45 = 0.27 m²
Therefore:
4,047 ÷ 0.27 ≈ 14,989 planting positions
These are theoretical calculations.
Actual plant numbers may be lower because of:
Paths
Field borders
Irrigation channels
Drainage channels
Areas reserved for farm operations
Missing plants
11. SEED PLANTING DEPTH
For direct-seeded okra:
Plant approximately 3–5 cm deep.
Do not plant too deeply.
Deep planting may result in:
Slow emergence
Weak seedlings
Uneven establishment
Some seedlings failing to emerge
Commercial production guidance commonly places seed at approximately ¾–1 inch, which is about 2–2.5 cm; other local recommendations may differ. Therefore, the seed company's instructions should be followed for the specific variety and seedbed.
Our recommendation:
Use the depth specified on the seed label where available, rather than applying one depth universally.
12. PLANTING THE SEED
Prepare straight planting rows according to your selected spacing.
For example:
60 cm between rows
and:
30–45 cm between plants
Plant the seed into adequately moist soil.
After planting:
Cover the seed with fine soil
Irrigate gently
Avoid creating waterlogged conditions
Monitor emergence
Good seedbed moisture is important for uniform establishment.
13. THINNING THE SEEDLINGS
If more than one seedling emerges in one planting position, thin them after establishment.
Keep:
The strongest plant
The healthiest plant
The best-positioned plant
Remove:
Weak seedlings
Damaged seedlings
Diseased seedlings
Excess seedlings
The final plant population should match the selected spacing.
14. EARLY OKRA ESTABLISHMENT
During the first stages:
We emphasize four priorities:
Adequate moisture
Early weed control
Pest monitoring
Protection against seedling diseases
Do not allow young seedlings to experience severe water stress.
However:
Do not over-irrigate.
Excessive moisture and poor drainage can increase root and seedling problems.
15. OKRA IRRIGATION
Okra can tolerate heat and some drought stress once established, but severe water stress can reduce yield potential.
Supplemental irrigation can improve production when rainfall is insufficient. Oklahoma State guidance notes that irrigation is particularly useful during the production period when rainfall does not meet crop water requirements.
We recommend managing irrigation according to:
Soil type
Temperature
Rainfall
Crop growth stage
Irrigation system
Soil moisture
Sandy soils may require more frequent irrigation than heavier soils.
16. HOW MUCH WATER DOES OKRA NEED?
There is no single number of liters per acre that is correct for every farm.
Water requirements vary according to:
Evapotranspiration
Temperature
Humidity
Soil type
Irrigation system
Crop growth stage
For example, Oklahoma State guidance gives approximately 1.5 inches of water every 10 days during production when rainfall is inadequate, under its production conditions. This should not be treated as a universal Tanzanian irrigation prescription.
Farmer, do not ask only:
“How many liters should I apply?”
Also ask:
“How wet is my soil, what is the weather like, and what stage is my crop in?”
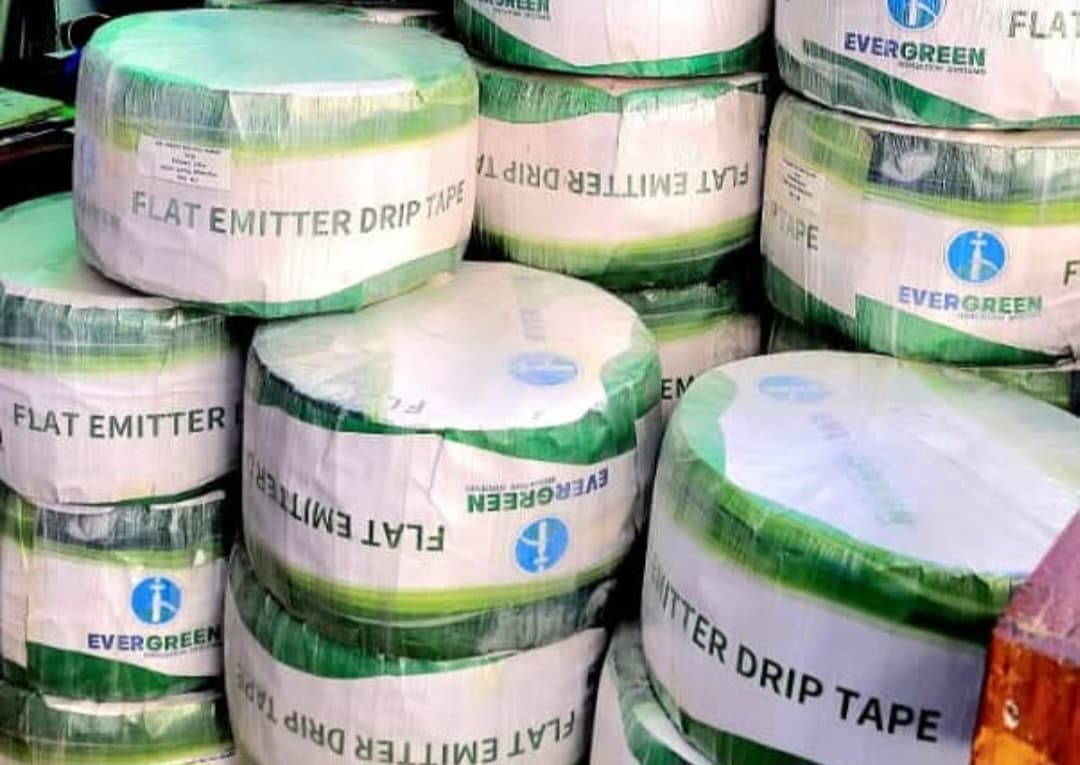
17. DRIP IRRIGATION
Where affordable and practical, drip irrigation can be highly useful for okra.
It can help you:
Deliver water close to the root zone
Reduce water losses
Avoid unnecessary wetting of foliage
Apply fertilizer through irrigation where appropriate
Improve water-use efficiency
Reduce some disease pressure
Drip irrigation can also make fertigation possible and can reduce foliage wetness compared with overhead irrigation.
18. FERTILIZER MANAGEMENT — VERY IMPORTANT
Farmer, this is where we want you to be especially careful.
Do not take a fertilizer bag and say:
“Because I have one acre, I must apply a certain number of bags.”
That is not a scientifically sound way to plan fertilizer.
Okra requires nutrients such as:
Nitrogen (N)
Phosphorus (P)
Potassium (K)
But the actual requirement depends on the soil test.
19. NITROGEN — N
Nitrogen supports:
Leaf development
Stem growth
Branching
Vegetative growth
However:
Too much nitrogen is not beneficial.
Excess nitrogen can result in:
Excessive vegetative growth
Delayed flowering
Delayed fruit set
Reduced pod production
Oklahoma State specifically notes that excessive nitrogen can cause excessive growth and delay flowering and fruit set.
20. PHOSPHORUS — P
Phosphorus contributes to:
Root development
Early plant establishment
Flower development
Energy transfer within the plant
But do not apply phosphorus simply because you think all vegetable crops need large amounts.
Use your soil test to determine whether additional phosphorus is required.
21. POTASSIUM — K
Potassium contributes to:
Water regulation
Plant strength
Crop development
Pod development
Stress management
If soil testing shows low potassium, potassium should be included in the fertilizer program at an appropriate rate.
22. EXAMPLE OF A FERTILIZER PROGRAM FOR ONE ACRE
Because soil testing should be the foundation, the following is an example starting point, not a universal prescription.
Oklahoma State guidance gives an approximate total nitrogen requirement for okra of:
80 lb N/acre
which is approximately:
36.3 kg N/acre
The recommendation is divided into preplant and side-dress applications.
Another Oklahoma State production guide gives an example of applying:
40 lb N/acre preplant
followed by:
20 lb N/acre
at the first topdress approximately three weeks after emergence, and another:
20 lb N/acre
three weeks later.
Therefore, a nutrient-based example is:
Before planting:
40 lb N/acre ≈ 18.1 kg N/acre
First topdress:
20 lb N/acre ≈ 9.1 kg N/acre
Second topdress:
20 lb N/acre ≈ 9.1 kg N/acre
Total:
80 lb N/acre ≈ 36.3 kg N/acre
However, the actual nitrogen requirement should be adjusted using your soil-test results.
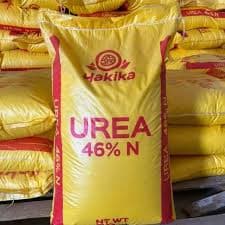
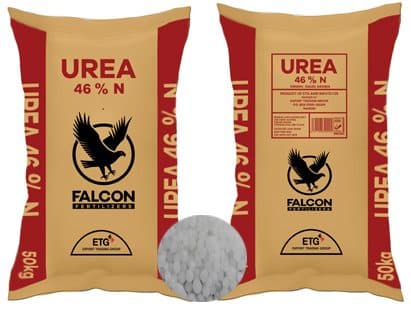
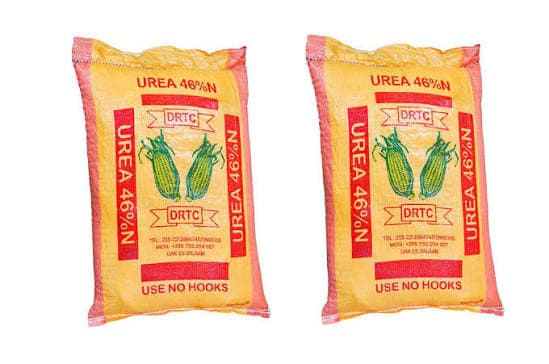
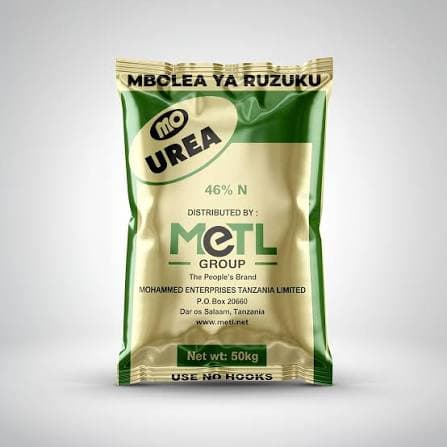
23. HOW TO CONVERT NITROGEN INTO UREA
Suppose your recommendation requires:
20 kg actual N
and your Urea contains:
46% N
Then:
20 ÷ 0.46 = 43.5 kg Urea
Therefore:
20 kg actual N ≈ 43.5 kg Urea
This demonstrates why we must distinguish between:
kilograms of nutrient
and:
kilograms of fertilizer product.
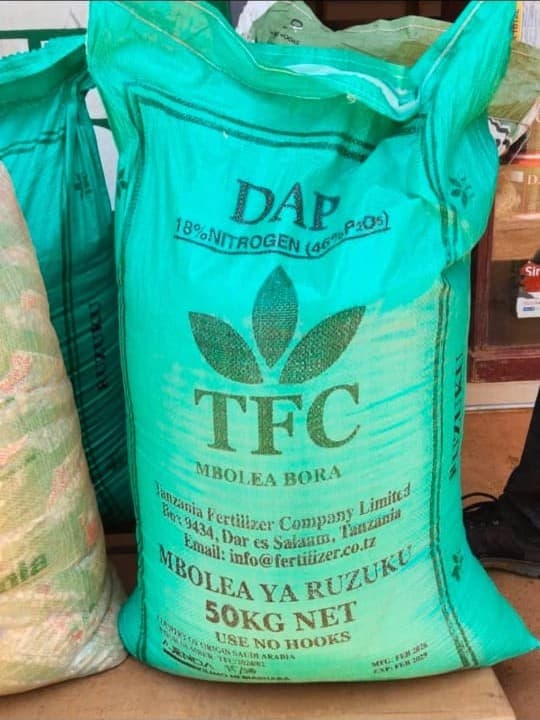
24. EXAMPLE USING DAP
Suppose your soil-test recommendation requires:
20 kg P₂O₅
and DAP contains:
18% N + 46% P₂O₅
Then:
20 ÷ 0.46 = 43.5 kg DAP
The DAP would also provide:
43.5 × 0.18 = 7.83 kg N
Therefore, the nitrogen supplied by DAP must be included in the total nitrogen budget.
This is why fertilizer planning should be based on actual nutrient requirements, not simply the number of bags.
25. FERTILIZER TIMING
Before planting
Apply according to the soil-test recommendation:
Organic manure/compost where appropriate
Lime if soil testing indicates a need
Phosphorus
Potassium
Part of the nitrogen
About 3 weeks after emergence
Apply the first nitrogen topdress where required.
About 3 weeks later
Apply the second nitrogen topdress where required.
Oklahoma State guidance specifically recommends splitting nitrogen applications rather than applying the entire amount at once.
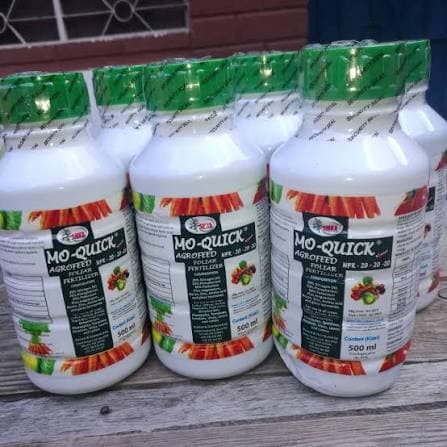
26. FERTIGATION
If you use drip irrigation, nitrogen can be applied through the irrigation system where the fertilizer and equipment are suitable for fertigation.
Advantages can include:
Smaller nutrient applications
Better timing
Reduced risk of excessive application
More direct delivery to the crop root zone
However, fertigation must be properly designed and managed.
Do not inject any fertilizer into a drip system without confirming that the product is suitable and that the concentration is safe for the crop and equipment.
27. WEED MANAGEMENT
Weeds compete with okra for:
Water
Nutrients
Sunlight
Space
They can also provide shelter for pests.
First weeding
Control weeds early before they become established.
Second weeding
Remove weeds before the okra canopy becomes dense.
Later weeding
Continue removing weeds around the crop where necessary.
Early weed management is particularly important during crop establishment.
28. HERBICIDES — DO NOT USE THEM RANDOMLY
Before using a herbicide:
Identify the weed.
Identify the crop growth stage.
Confirm that the product is registered for the intended use.
Read the label.
Use the correct rate.
Calibrate the sprayer.
Avoid spray drift.
Wear appropriate PPE.
Observe the required pre-harvest interval.
Do not use a herbicide simply because your neighbor used it.
29. MAJOR OKRA PESTS
Farmer, okra can be attacked by several pests.
Important pests to monitor include:
1. Aphids
Possible symptoms include:
Small insects on young leaves
Leaf curling
Stunted growth
Honeydew
Sooty mold
2. Whiteflies
Usually found on the underside of leaves.
They can:
Suck plant sap
Weaken plants
Contribute to the spread of some viruses
3. Thrips
Can attack:
Young leaves
Flowers
Tender plant parts
4. Mites
Mite populations can increase under hot and dry conditions.
5. Flea beetles
Can produce small holes in leaves.
6. Caterpillars
May feed on:
Leaves
Flowers
Young pods
7. Pod-feeding insects
Some insects can pierce or feed on developing pods and reduce market quality.
Oklahoma State and other extension guidance identify aphids, mites, thrips, whiteflies and various leaf-feeding insects among potential okra pests.
30. PEST SCOUTING
Do not wait until the entire field is damaged.
Scout:
At least twice per week
Inspect:
Upper leaf surfaces
Undersides of leaves
Flowers
Pods
Stems
Young plants
Look for:
Eggs
Live insects
Insect residues
Holes
Leaf curling
Discoloration
Damaged pods
31. DO NOT SPRAY JUST BECAUSE YOU SEE ONE INSECT
This is a mistake we want you to avoid.
Before applying an insecticide:
Identify the pest
Estimate its population
Assess crop damage
Check for beneficial insects
Determine whether control is actually necessary
Select the appropriate product
Follow the label
Integrated pest management emphasizes regular scouting and using control measures when justified rather than automatically spraying.
32. COMMON OKRA DISEASES
Diseases may affect:
Roots
Stems
Leaves
Flowers
Pods
Potential problems include:
Damping-off
Common symptoms:
Seedling collapse
Thin stems near the soil surface
Seedlings falling over
Seedling death
Fusarium wilt
Possible symptoms include:
Stunting
Wilting
Discoloration
Poor growth
Root-knot nematodes
Can cause:
Root galls
Stunting
Poor plant vigor
Symptoms that resemble water or nutrient stress
Powdery mildew
Possible symptoms:
White powder-like growth on leaves
Reduced leaf function
Premature leaf aging
Cercospora and Alternaria leaf spots
Can produce spots on leaves.
Blossom blight and pod rot
Flowers and young pods can decay, especially under hot and wet conditions.
Oklahoma State identifies root-knot nematodes, Fusarium and Verticillium wilts, blossom blight and foliar diseases such as Alternaria and Cercospora among potential okra production problems.
33. REMEMBER: A SYMPTOM IS NOT A DIAGNOSIS
Farmer, if you see:
Yellow leaves
Wilting
Spots
Stunted growth
do not immediately spray a pesticide.
The cause may be:
Disease
Insect damage
Nutrient deficiency
Water stress
Excess water
Root damage
Nematodes
Herbicide injury
Poor soil conditions
Our principle is:
Diagnose first, treat second.
34. HOW TO PREVENT DISEASES
Start with prevention.
We advise you to:
Use quality seed
Choose well-drained fields
Avoid waterlogging
Practice crop rotation
Remove severely infected plants where appropriate
Control weeds
Avoid unnecessary overhead irrigation
Use drip irrigation where practical
Avoid excessive plant density
Scout regularly
Crop rotation is particularly useful where fields have a history of wilt or nematode problems.
35. CROP ROTATION
Avoid planting okra repeatedly in the same field without considering the history of diseases and soil pests.
Rotate with suitable non-host crops where appropriate.
The objectives are to:
Break pest cycles
Reduce soil-borne pathogens
Reduce nematode pressure
Improve soil health
36. PESTICIDE USE
If pesticide treatment is necessary:
First identify the problem.
Then:
Select a product intended for the target pest or disease
Confirm that it is registered for the intended crop/use
Read the label
Use the labeled rate
Wear appropriate PPE
Calibrate the sprayer
Observe the pre-harvest interval
Avoid unnecessary mixtures
Because okra can be harvested frequently, the pre-harvest interval (PHI) is extremely important.
Do not spray today and harvest tomorrow without checking the product's PHI.
37. PESTICIDE RESISTANCE
Repeated use of the same pesticide can contribute to resistance.
We advise you to:
Avoid unnecessary pesticide applications
Rotate modes of action where appropriate
Follow the product label
Use IPM
Do not deliberately under-dose
Do not exceed the labeled rate
38. OKRA FLOWERING
Once the plants reach sufficient maturity, flowering begins.
During flowering:
Maintain adequate moisture
Monitor pests
Monitor diseases
Avoid excessive nitrogen
Maintain balanced nutrition
Continue field scouting
Severe water stress during important reproductive stages can reduce production.
39. POD DEVELOPMENT
After flowering, pods begin to develop.
This is a critical production stage.
Monitor:
Water
Potassium
Nitrogen
Insects
Diseases
Weeds
Okra can continue producing pods for an extended period when managed properly.
40. HARVESTING OKRA
Farmer, this is one of the most important stages.
Do not wait for pods to become excessively large.
Over-mature pods can become:
Tough
Fibrous
Less suitable for consumption
Less attractive to buyers
Therefore:
Harvest young, tender pods regularly.
Frequent harvesting encourages continued production and helps maintain market quality.
41. HOW TO HARVEST
When harvesting:
Use clean harvesting tools where appropriate
Avoid pulling or damaging the plant
Avoid breaking branches
Harvest pods according to market requirements
Remove rotten pods
Place harvested produce in clean containers
Gloves may be useful for varieties with irritating hairs or spines.
42. WHEN DOES HARVESTING BEGIN?
The first harvest depends on:
Variety
Temperature
Water availability
Soil fertility
Production system
Crop health
Some varieties may produce harvestable pods approximately:
45–65 days after planting
while others may take longer.
Do not rely only on the number of days.
Use pod size, tenderness and market requirements as your harvesting guide.
43. POST-HARVEST HANDLING
Farmer, harvesting is not the end.
After harvesting:
Grade the pods according to:
Size
Color
Quality
Damage
Disease
Remove:
Rotten pods
Over-mature pods
Broken pods
Severely damaged pods
44. STORAGE
Okra is a highly perishable vegetable.
Therefore:
Harvest during cooler periods where practical
Keep produce away from direct sunlight
Keep it in a cool, shaded place
Use clean containers
Avoid crushing the pods
Transport it to market quickly
Good post-harvest handling is essential for maintaining quality.
45. ONE-ACRE OKRA FARMING SCHEDULE
WEEKS 1–2: PLANNING
Do the following:
Identify the market
Select the variety
Purchase quality seed
Test the soil
Secure a water source
Clear the field
WEEKS 2–3: LAND PREPARATION
Plough
Harrow
Apply well-decomposed manure where appropriate
Prepare raised beds where necessary
Install the irrigation system
Establish drainage channels
WEEK 3: PLANTING
Example:
60 cm × 30–45 cm
Planting depth:
Follow the seed-label recommendation; approximately 2–5 cm may be used depending on seed and soil conditions.
Seed:
Approximately 3–5 kg/acre as a practical starting range, subject to the variety and seed supplier's recommendation.
WEEK 4: EMERGENCE
Monitor:
Germination
Weeds
Pests
Soil moisture
Carry out gap filling where necessary.
WEEKS 5–6: VEGETATIVE GROWTH
Carry out:
Weeding
Nitrogen topdressing according to the fertilizer plan
Pest scouting
Irrigation management
Do not allow weeds to compete strongly with the crop.
WEEKS 7–8: FLOWERING
Monitor:
Flowers
Insects
Water
Nitrogen
Potassium
Disease symptoms
Avoid excessive nitrogen.
WEEKS 8–10: FIRST PODS
Begin harvesting pods once they reach the required market size and tenderness.
Do not delay harvesting.
Harvest regularly.
WEEK 10 ONWARD: CONTINUOUS HARVESTING
Continue:
Harvesting
Irrigation
Pest monitoring
Disease monitoring
Removal of damaged pods
Nutrient management according to crop condition
46. SIMPLE WORK SCHEDULE
| Stage | Main activity |
|---|---|
| Before planting | Market + soil test + seed |
| Weeks 1–2 | Land preparation |
| Weeks 2–3 | Planting |
| Weeks 3–4 | Emergence + weeding |
| Weeks 4–6 | Vegetative growth + topdressing |
| Weeks 6–8 | Flowering + scouting |
| Weeks 8–10 | First pods |
| Week 10+ | Continuous harvesting |
This schedule is indicative. Variety, climate and crop management can change the exact timing.
47. IMPORTANT ONE-ACRE MEASUREMENTS
| Item | Indicative guide |
|---|---|
| One acre | 4,047 m² |
| Seed | Approximately 3–5 kg, depending on variety |
| Spacing | 60 × 30–45 cm |
| Seed depth | Follow seed label; commonly around 2–5 cm |
| Theoretical plants at 60 × 30 cm | ≈22,483 |
| Theoretical plants at 60 × 45 cm | ≈14,989 |
| Preferred soil pH | Approximately 6.0–6.8 |
| Manure/compost | Approximately 3–5 t/acre as an indicative range |
| First harvest | Often around 45–65 days, depending on variety and conditions |
| Nitrogen | Soil-test based; an example guide may be around 36 kg N/acre |
Important fertilizer note
The amount of fertilizer product such as Urea, DAP, CAN, NPK or SOP cannot be determined accurately without knowing:
Soil-test results
Actual N-P-K requirements
Fertilizer formulation
Previous nutrient applications
Crop condition
Therefore, do not interpret a nutrient recommendation as a mandatory number of fertilizer bags.
48. TWENTY COMMON MISTAKES TO AVOID IN OKRA FARMING
1.
Planting without understanding the market.
2.
Using poor-quality seed.
3.
Failing to test the soil.
4.
Planting in waterlogged soil.
5.
Planting too densely.
6.
Planting seed too deeply.
7.
Applying excessive nitrogen.
8.
Applying all fertilizer at once.
9.
Delaying weed control.
10.
Irrigating without checking soil moisture.
11.
Failing to scout early.
12.
Spraying without identifying the pest.
13.
Using the wrong pesticide.
14.
Mixing pesticides without proper guidance.
15.
Ignoring the pre-harvest interval.
16.
Repeatedly planting okra in fields with a history of nematodes or wilt.
17.
Delaying harvesting.
18.
Harvesting over-mature pods.
19.
Leaving harvested okra in direct sunlight.
20.
Waiting until harvest before searching for buyers.
49. OKRA FARMING AS A BUSINESS
Farmer, we want you to change your mindset.
Do not simply think:
“I have planted okra.”
Think:
“I am managing an okra farming business.”
This means keeping records of:
Seed costs
Land preparation costs
Fertilizer costs
Pesticide costs
Irrigation costs
Labor costs
Harvest quantity
Quantity sold
Selling price
Transportation costs
Profit or loss
This will help you determine whether your farm is actually performing as a business.
50. WHY FIELD SCOUTING MATTERS
A farmer who identifies a problem early has a better opportunity to manage it before it spreads.
Every time you visit the farm:
Check the leaves.
Check underneath the leaves.
Check the flowers.
Check the pods.
Check the stems.
Check the soil.
Check the water.
Check the weeds.
Record what you observe.
51. WHAT DOES CHETU AGROSOLUTION ADVISE?
Farmer, we want to help you make informed decisions instead of buying agricultural inputs blindly.
At CHETU AGROSOLUTION, we can support you with:
Quality seeds
Fertilizers
Insecticides
Fungicides
Agronomic advice
Crop problem identification
Crop nutrition planning
Pest and disease management
Safe pesticide-use guidance
Farm monitoring
Agricultural input delivery
Our goal is to help you choose agricultural inputs and production practices based on your crop and farm needs.
Visit CHETU AGROSOLUTION — chetuagro.com
52. CONCLUSION: OKRA REQUIRES PROFESSIONAL MANAGEMENT
Farmer, okra farming is not simply about putting seed in the soil and waiting for pods.
It is a complete production system:
Market → Quality seed → Soil test → Land preparation → Correct spacing → Water → Nutrition → Weed management → Scouting → Pest management → Disease management → Flowering → Pod development → Harvesting → Post-harvest handling → Marketing.
We want you to remember:
Do not plant without a plan.
Do not apply fertilizer without understanding your soil.
Do not use pesticides without identifying the problem.
Do not wait until disease has spread.
Do not delay weed control.
Do not delay harvesting.
And do not wait until harvest to start looking for a market.
At CHETU AGROSOLUTION, we are ready to support you throughout the production process with agricultural inputs, seeds, fertilizers, crop-protection solutions and professional agronomic guidance.
CHETU AGROSOLUTION
Better Inputs. Better Harvests. Better Lives.
For okra seeds, fertilizers, crop-protection products and professional agricultural advice: